Solo Travel Photography: 20+ Poses, Self-Timer Tips & How to Get Amazing Photos on Your Own
Traveling solo is one of the best decisions you’ll ever make. No compromises on where to go, what to eat, or when to wake up. The one thing solo travelers consistently struggle with? Coming home with photos that actually capture how incredible the trip was.
Awkward selfies. Blurry self-timer shots. Photos taken by strangers who somehow managed to miss the entire landmark. We’ve all been there.
This guide covers everything: 20+ solo photo poses that actually look natural, a full breakdown of how to use a self-timer and travel tripod like a pro, what to pack and wear for your photoshoot, and how to book a local photographer in the world’s best solo travel destinations so you can just enjoy the trip while someone else handles the camera.
- 20+ Solo Photo Poses That Actually Look Good
- Looking Away & Environmental Poses
- Solo Photoshoot Ideas
- Photography Tips for Solo Travelers
- Self-Timer & Travel Tripod Tips for Solo Travelers
- What to Wear & What to Pack for a Solo Travel Photoshoot
- Best Destinations for Solo Travel Photography
- Hire a Local Professional Photographer
20+ Solo Photo Poses That Actually Look Good
Most people freeze up when the camera turns on, and they’re alone. These poses give you a starting point, but the best ones are the ones where you stop thinking about the camera and start thinking about what you’re doing. Your photographer (or your tripod) will catch the rest.
Walking & Movement Poses
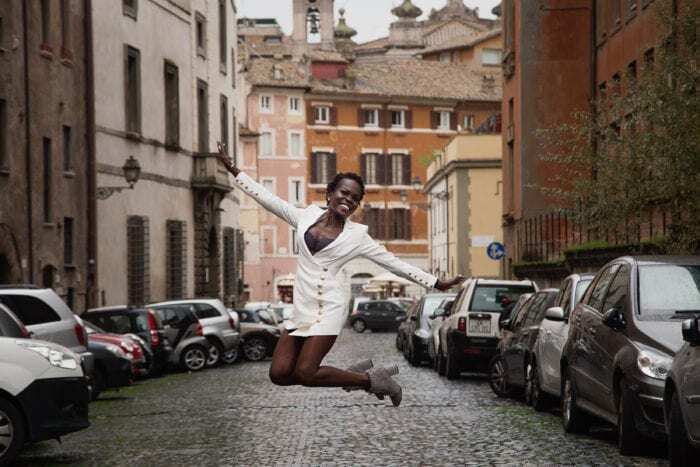
Movement shots are the easiest way to look natural in a photo on your own, because you’re actually doing something. These work best with a photographer or in continuous burst self-timer mode.
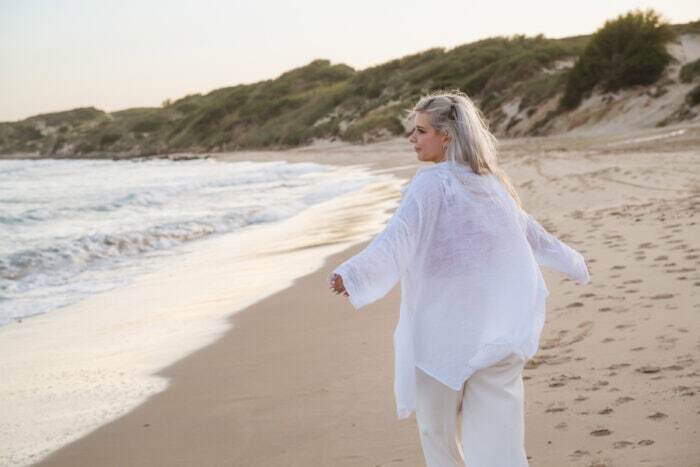
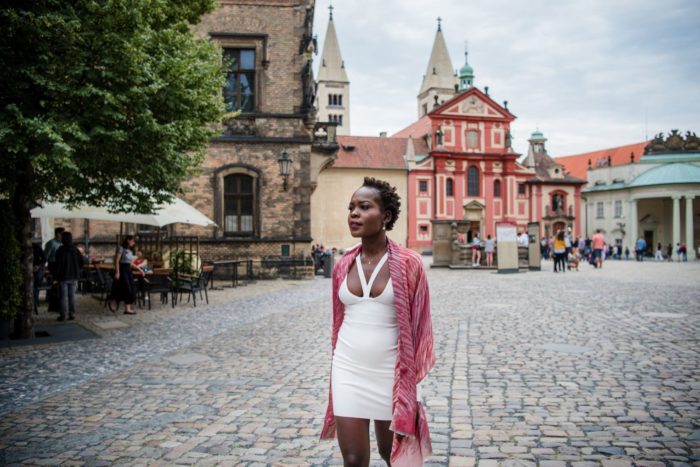
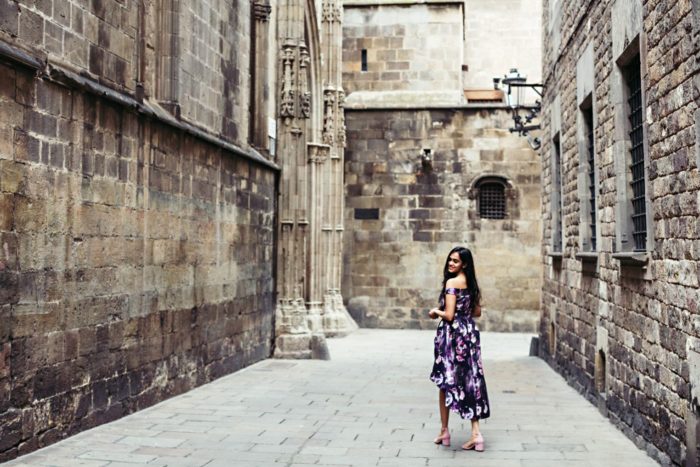
- The Walk-Away: Walk directly away from the camera down a street, path, or corridor. Look slightly back over one shoulder if you want to show your face. Works especially well on cobblestone streets, long corridors, or anywhere with a strong leading line ahead of you.
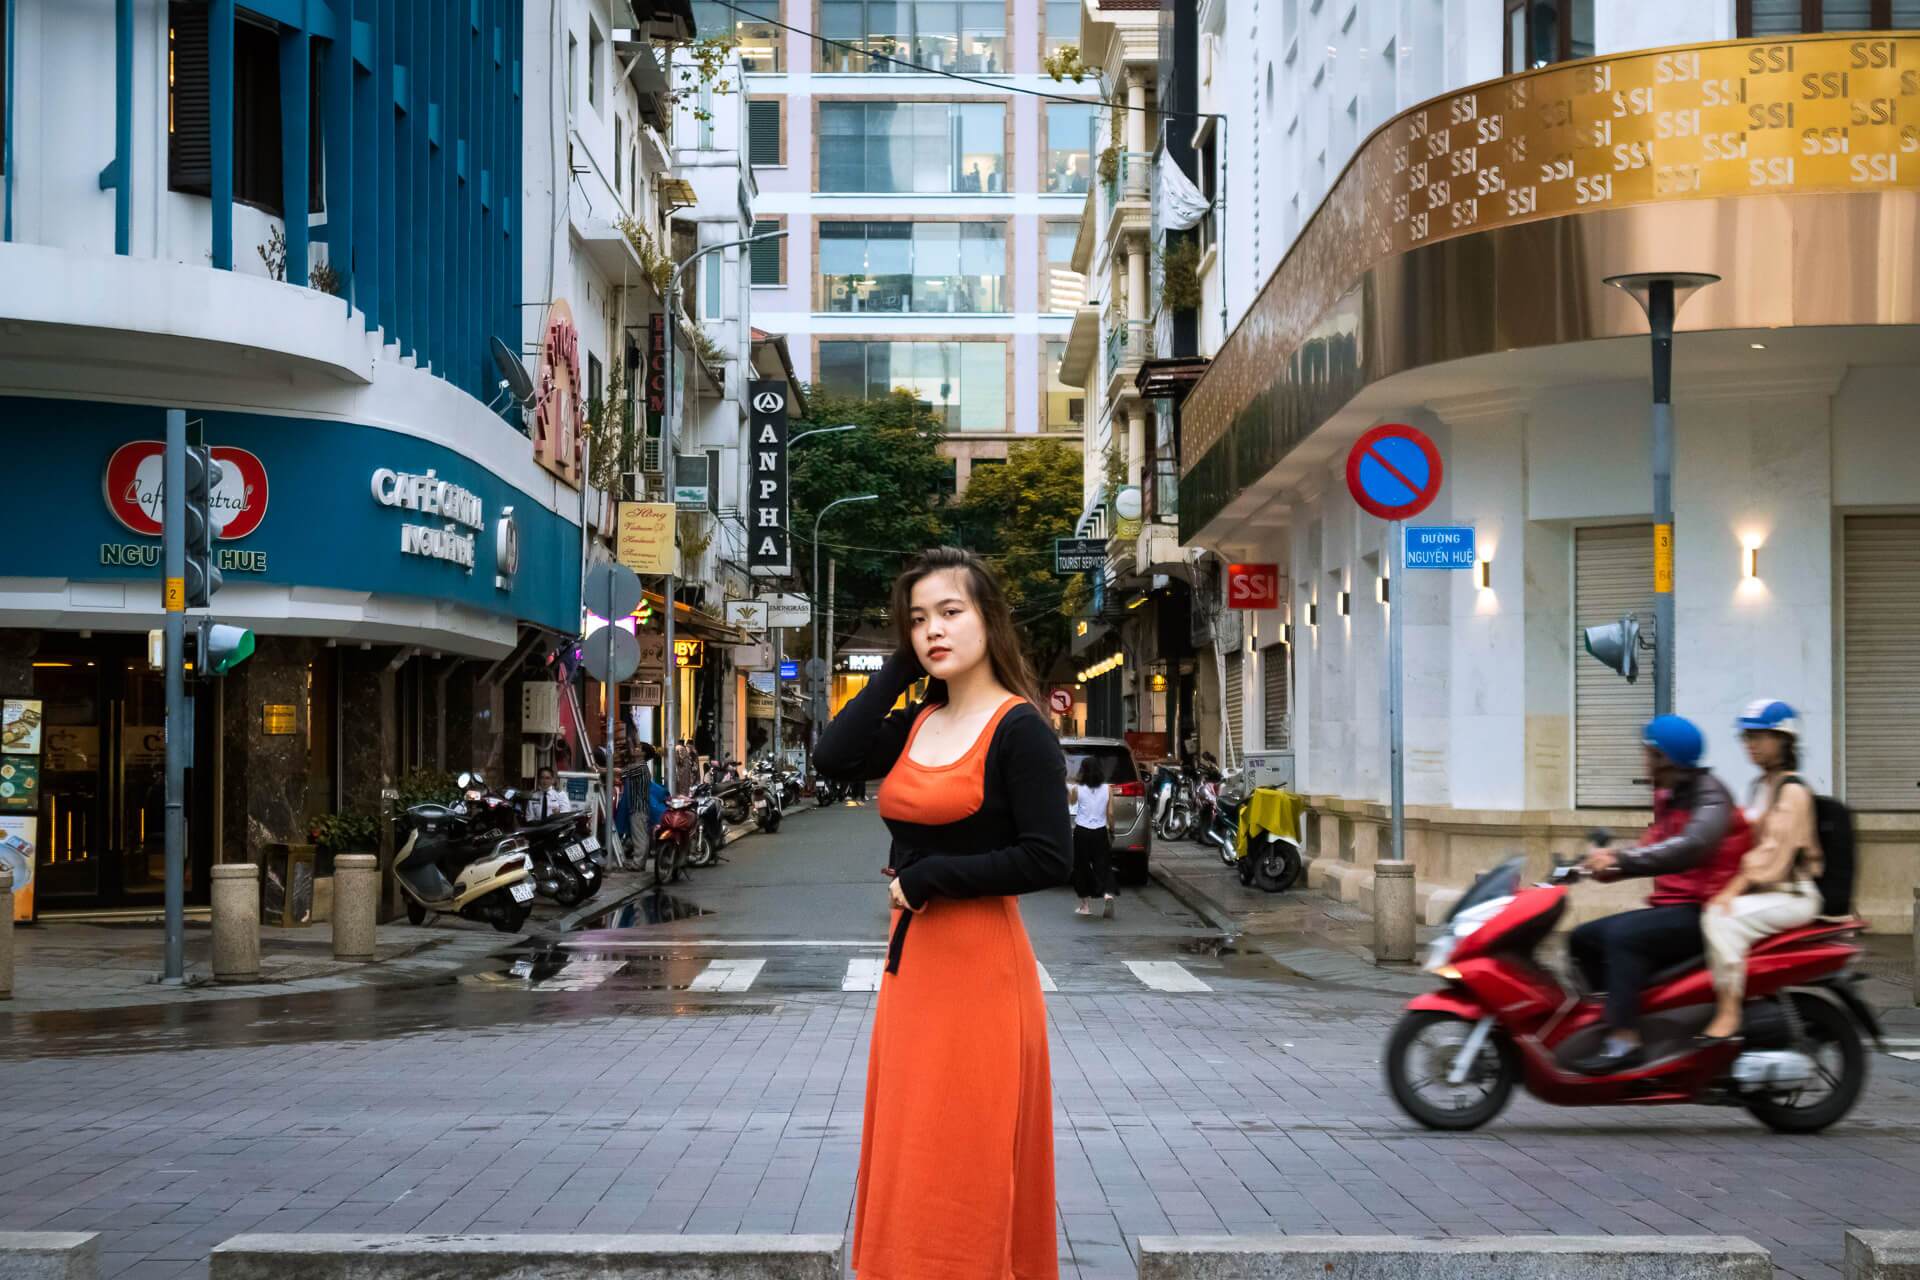
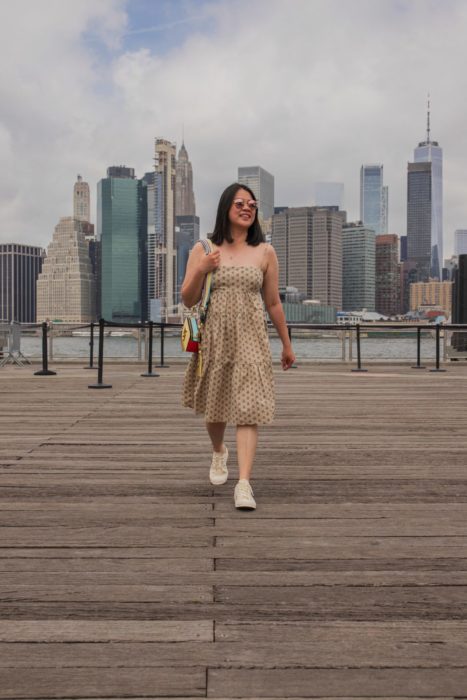
- The Mid-Stride: Walk toward the camera naturally. Don’t look at it; look slightly to the left or right, like you’re checking out a shop window or looking up at a building. The movement keeps it from looking stiff.
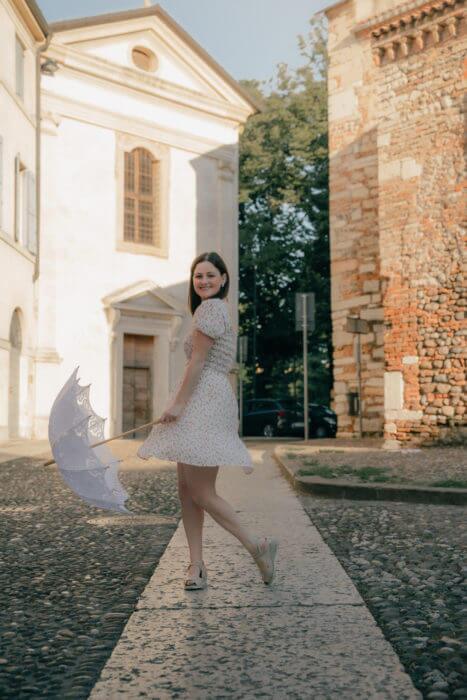
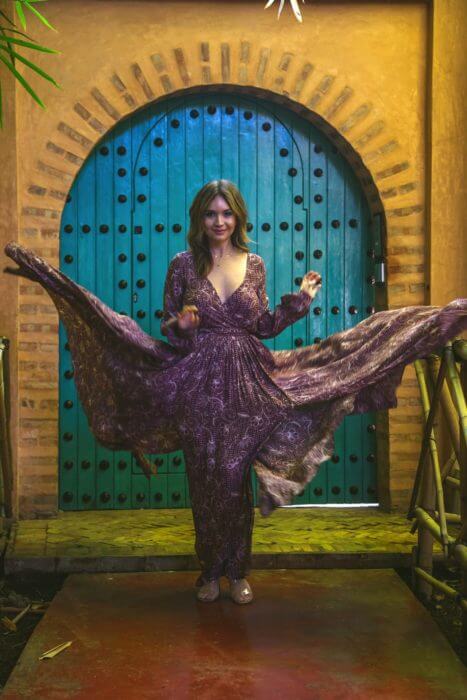
- The Twirl: Genuinely underrated for all genders wearing flowy fabric. The movement gives the photographer (or your burst timer) a few frames to work with, and at least one of them always lands well.
- Stepping Up or Down: Use stairs, a curb, or the edge of a fountain. The act of stepping creates a natural pause that reads well in a still photo.
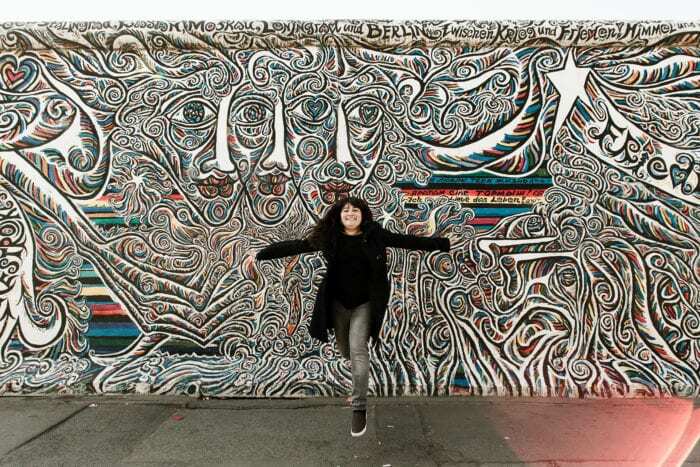
- The Slow Turn: Stand in a spot, then slowly turn your body 180 degrees. Works in burst mode you’ll get a range from profile to three-quarter to full-face in the same sequence.
Sitting & Resting Poses
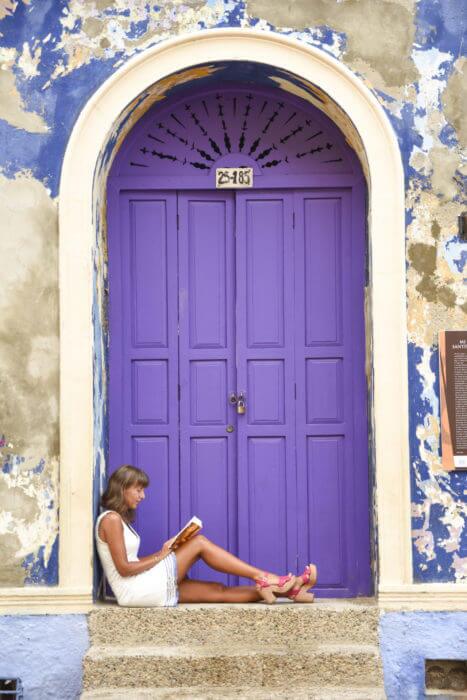
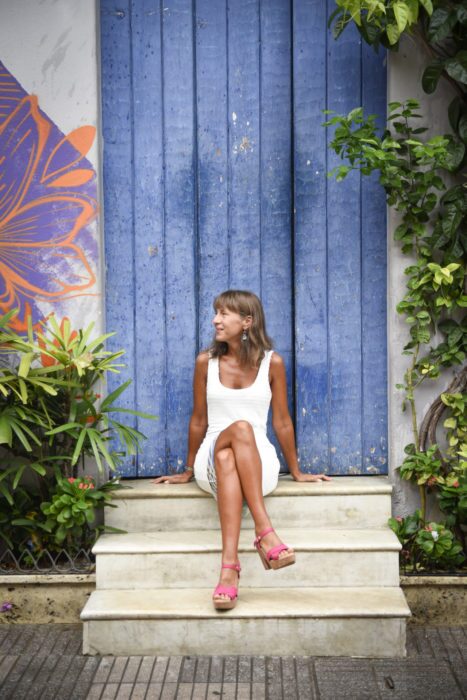
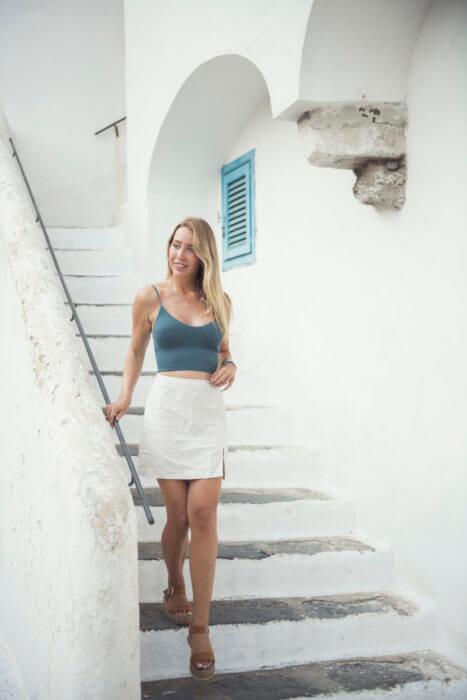
- Sitting on Steps: Find a set of steps — a church entrance, a market staircase, a park — and sit naturally, leaning forward with elbows on knees or sitting upright, looking into the distance. Keep one foot flat and one on the toes to avoid stiff-leg syndrome.
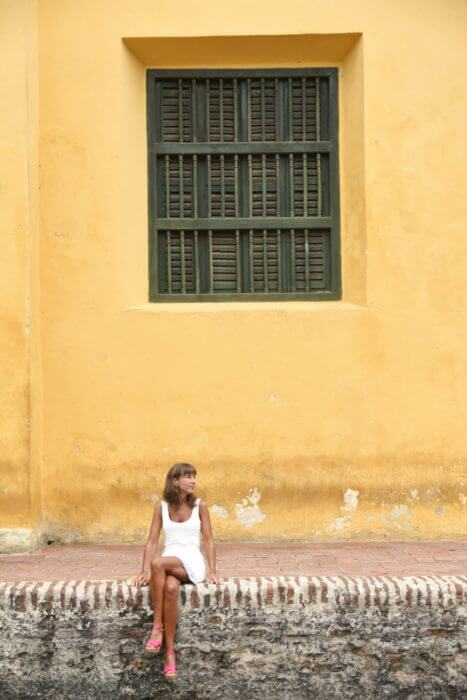
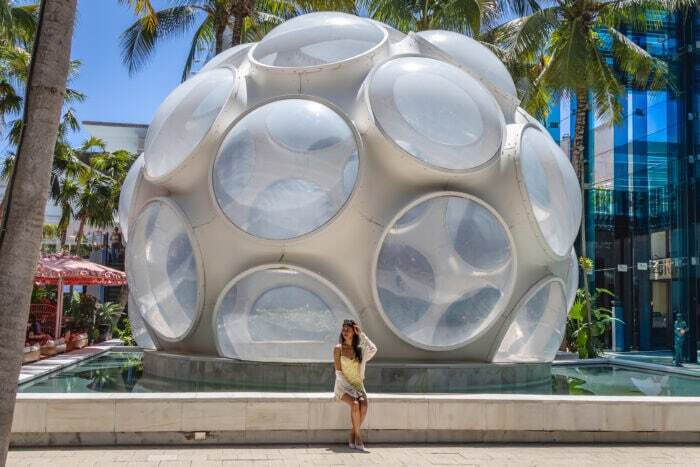
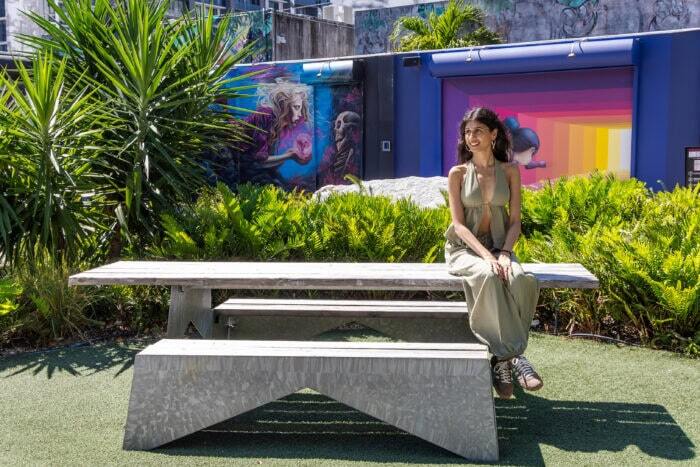
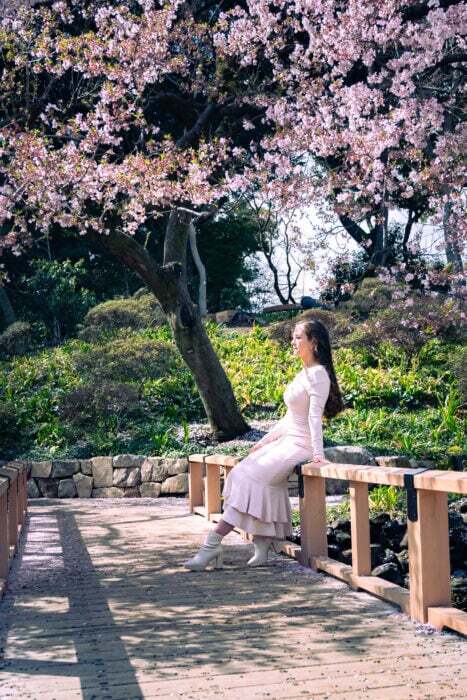
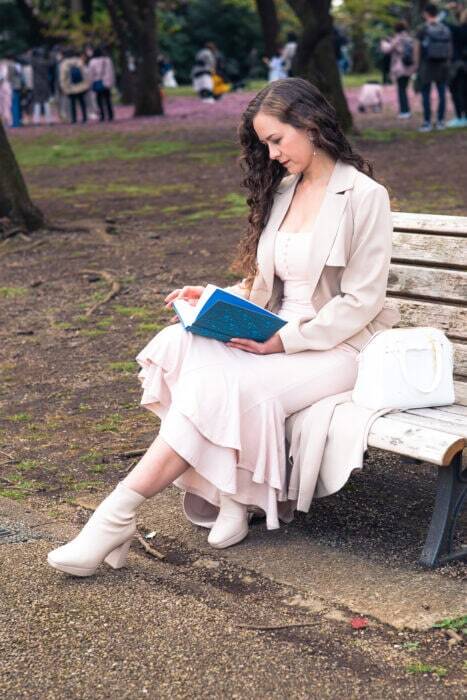
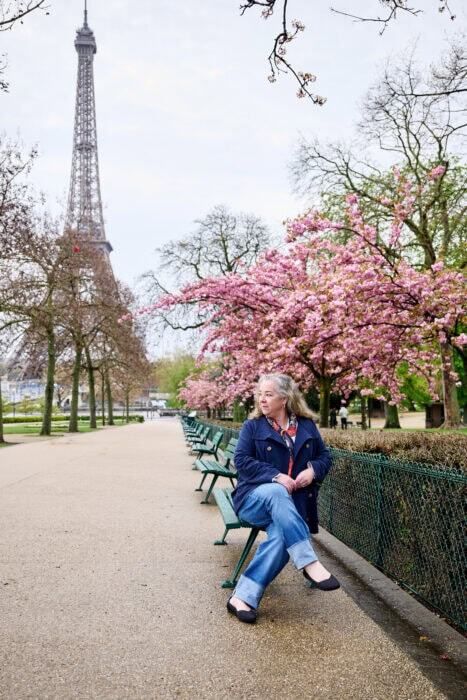
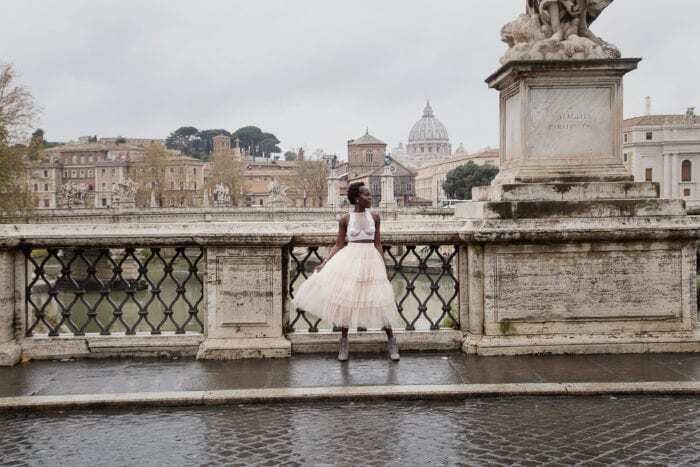
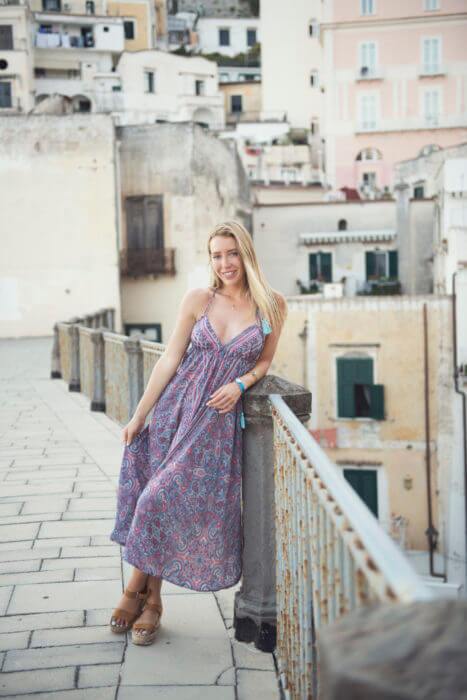
- The Ledge Sit: Sit sideways on a ledge, wall, or bench. Dangle your feet slightly or cross them at the ankle. Body angled at 45 degrees to the camera always looks better than straight-on.
- Café Chair Candid: Sit at an outdoor café table with a coffee or glass of wine in hand. Look down at the drink, look out at the street, or look up mid-laugh. All three work. The drink gives you something to do with your hands.
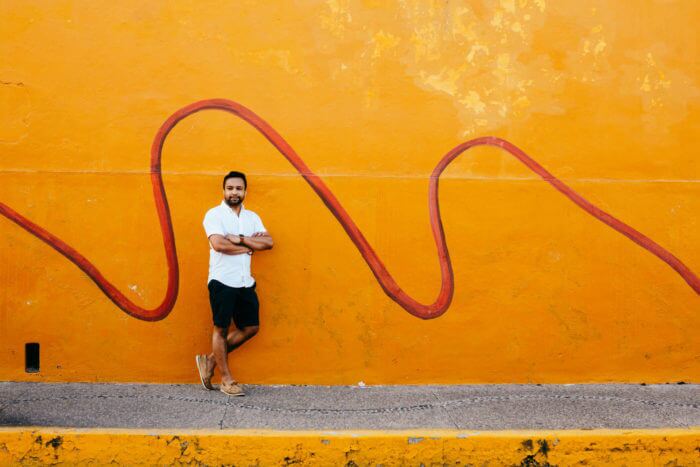
- The Lean: Find a wall, pillar, or doorway and lean against it with one shoulder. Cross your arms lightly or put one hand in a pocket. Look slightly away from the camera for editorial; look straight into it for bold.
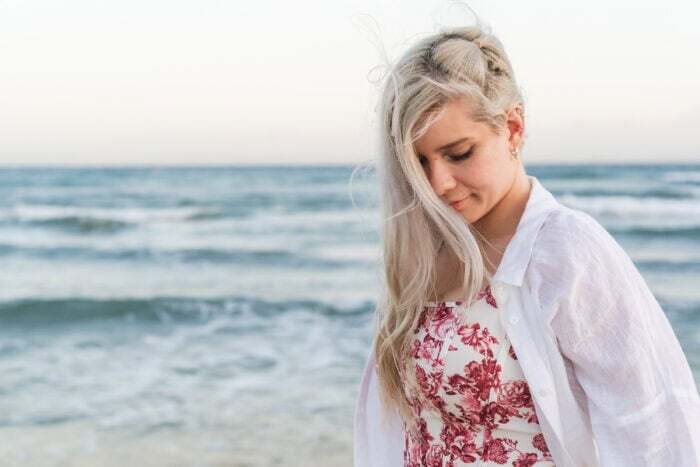
- Ground Sit: Sit directly on the ground — at the beach, in a field, on a rooftop. Pull knees up or sit cross-legged. Works especially well for wide landscape shots where you’re a small figure in a big scene.
Looking Away & Environmental Poses
Not every photo needs to show your face. Some of the best solo travel shots are the ones where you’re clearly experiencing a place — not posing for Instagram.
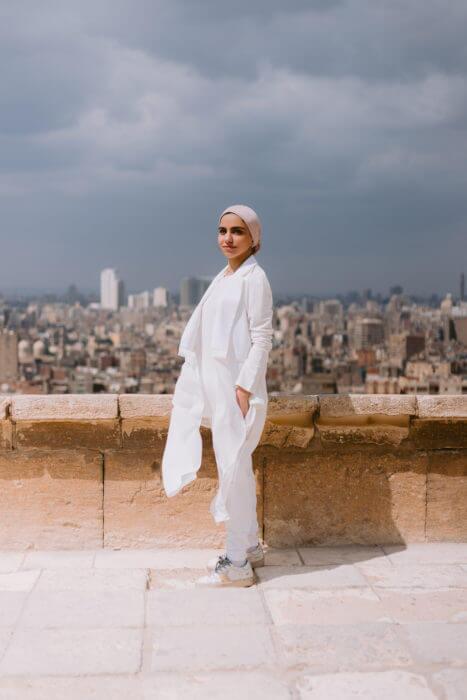
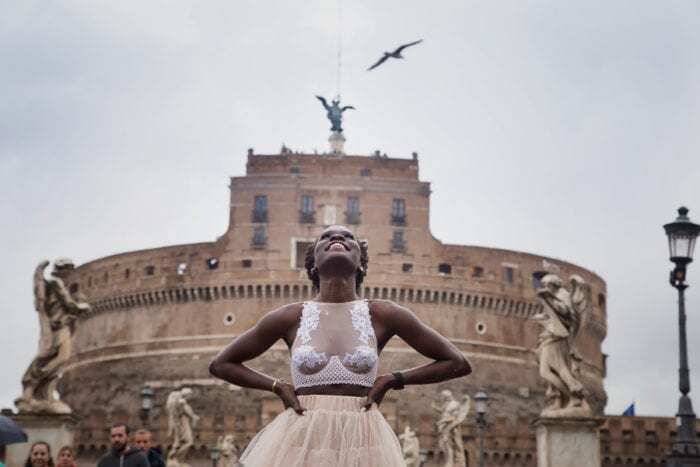
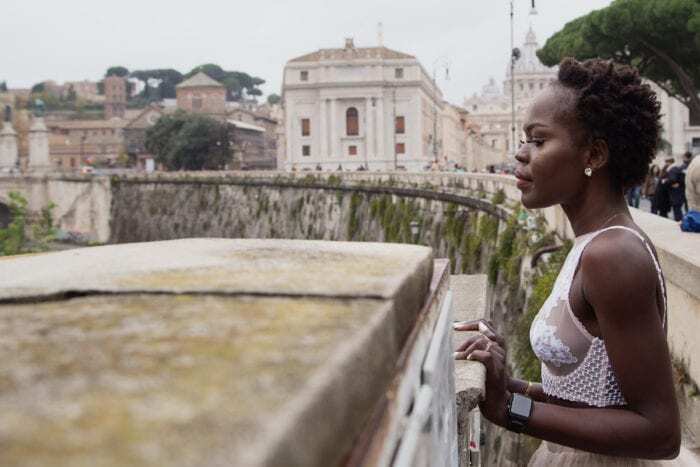
- The Gaze: Stand or sit and look into the distance — at the view, the horizon, the market below. Chin slightly up. Don’t look at the camera. This is the most reliable pose for solo travelers who don’t love having their photo taken.
- Window Light: Stand in front of a window or doorway with natural light coming in. Face the light source. You don’t need to look at the camera — looking out the window is enough.
- The Map or Menu Check: Hold a local map, read a menu at an outdoor stand, or look at a phone showing a map. A genuinely candid activity reads as authentic in photos.
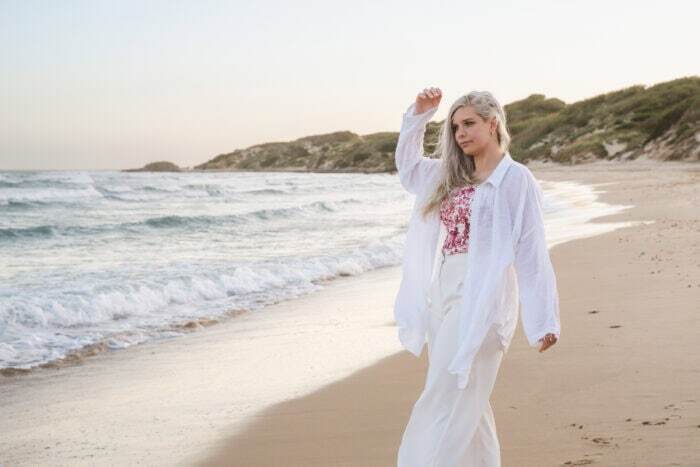
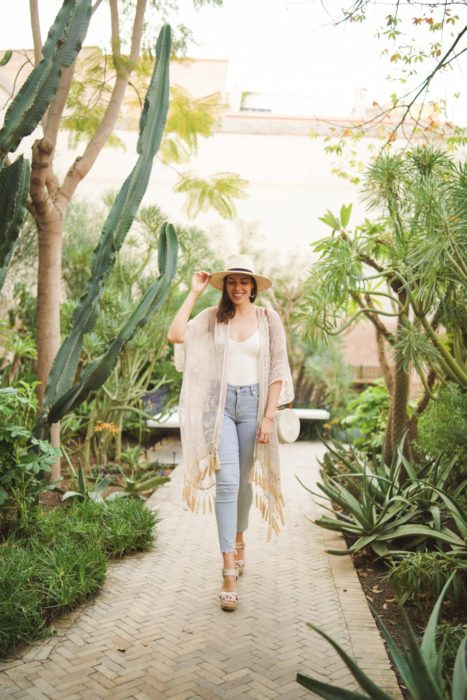
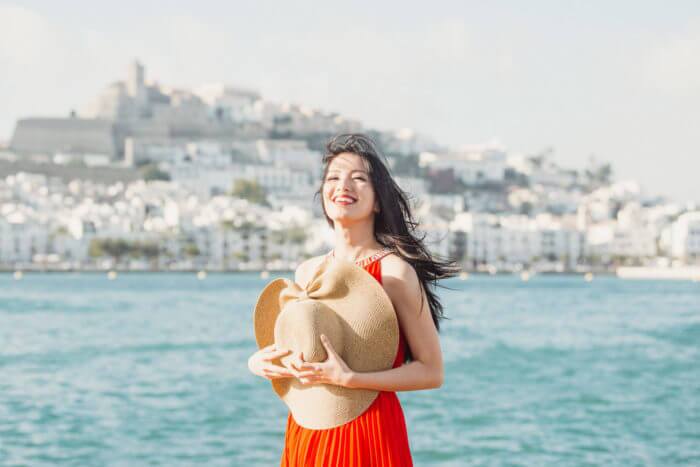
- The Hat Grab: Reaching up to hold or adjust a hat is one of those small gestures that photographs incredibly well. Works at golden hour or anywhere there’s a bit of wind.
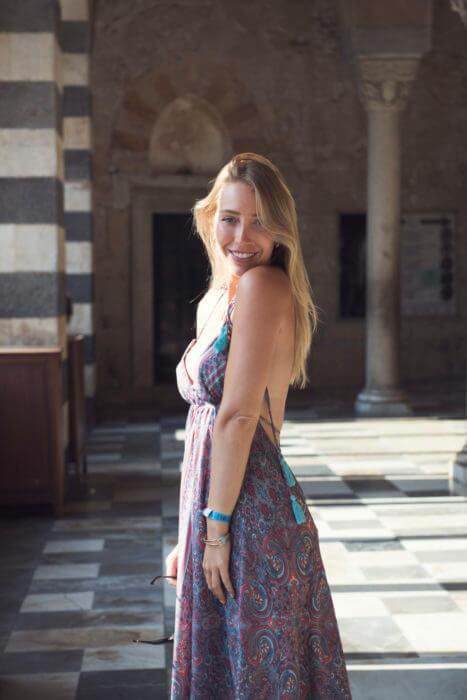
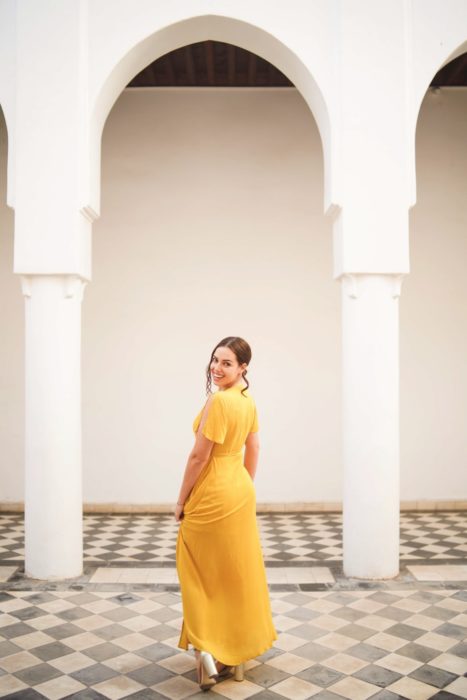
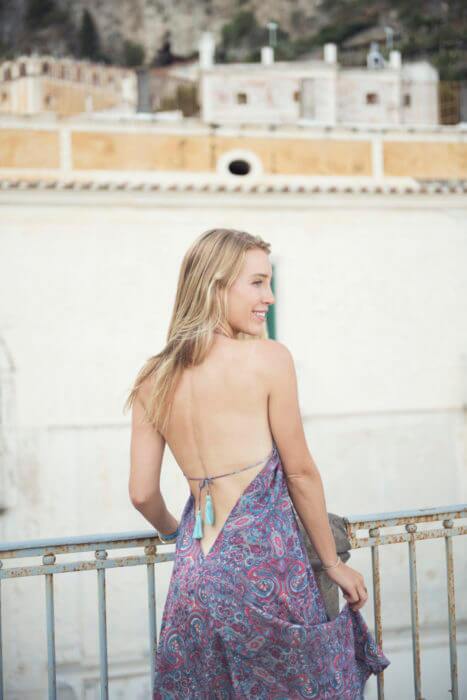
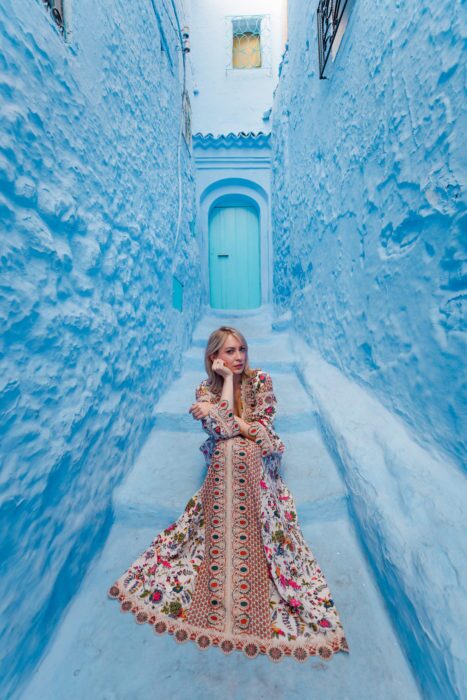
- The Over-Shoulder Look: Face away from camera, then turn your head to look back over one shoulder. Give a slight smile or keep it neutral. Works anywhere, but especially dramatic in doorways, alleyways, or against patterned walls.
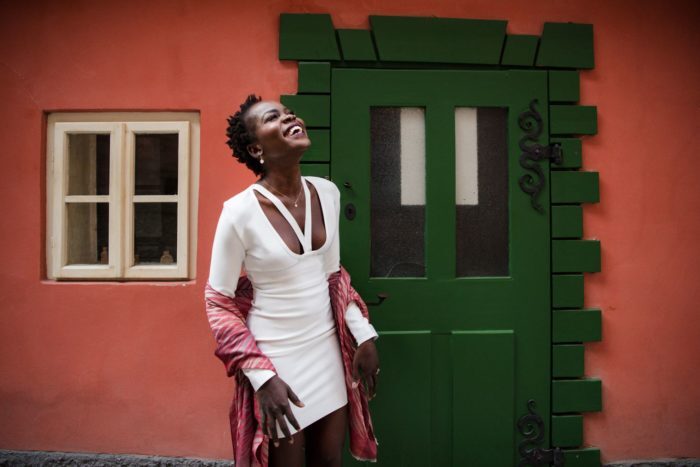
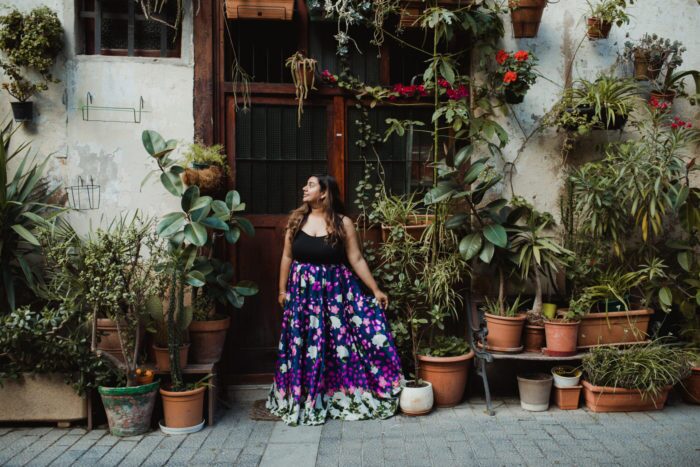
- The Frame: Stand in a natural frame — a doorway, arch, window, or between two trees. You don’t need a specific pose; the frame does the compositional work. Look out or look at the camera.
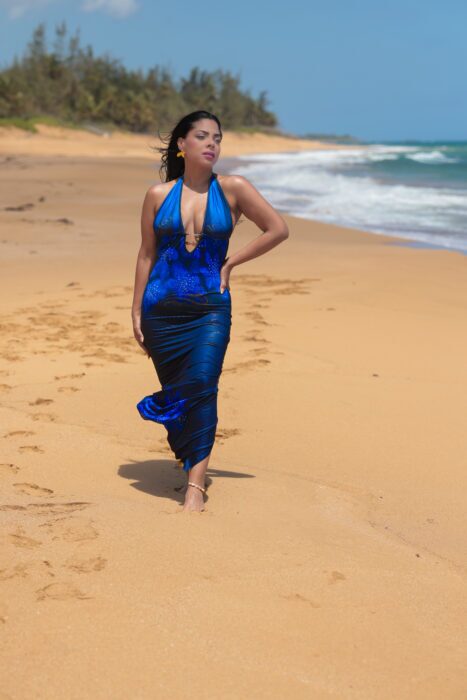
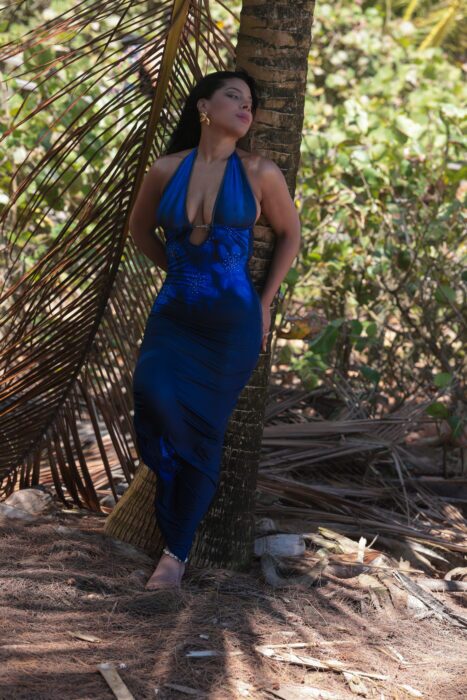
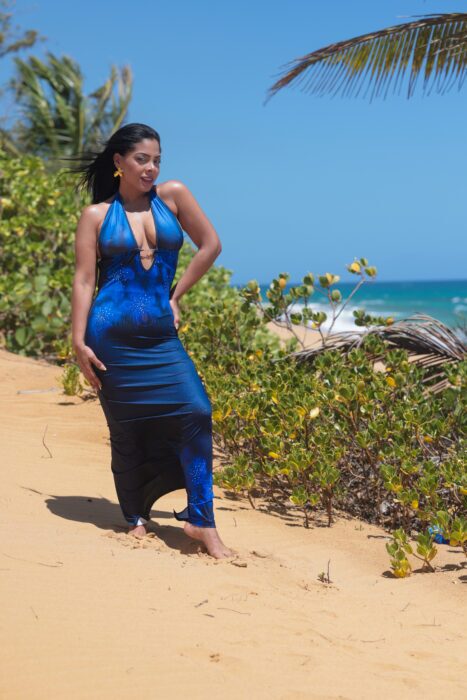
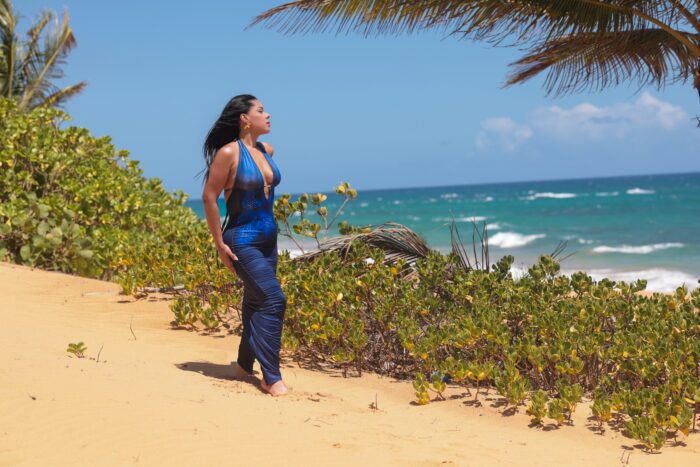
Detail & Creative Poses
- Just Your Feet: Lay on the beach or sit at the edge of a pool and photograph just your feet against the water or sand. Include a book, a drink, or the view beyond. No tripod required.
- The Reflection Shot: Find a puddle, a calm water surface, a shop window, or a mirror and frame yourself in it. The reflection adds depth and a bit of editorial drama that straight-on shots can’t replicate.
- Hands with Context: Holding local food at a market, wrapping around a coffee cup at a street café, reaching toward a painting in a gallery. These partial shots tell the story of what you were actually doing on the trip.
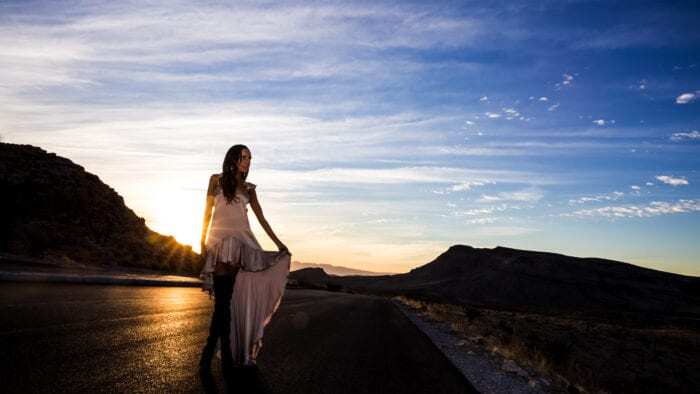
- The Silhouette: Position yourself in front of a strong light source — a sunset, a backlit doorway, a lantern-lit street. Expose for the background and let yourself go dark. Dramatic and doesn’t require any posing skill.
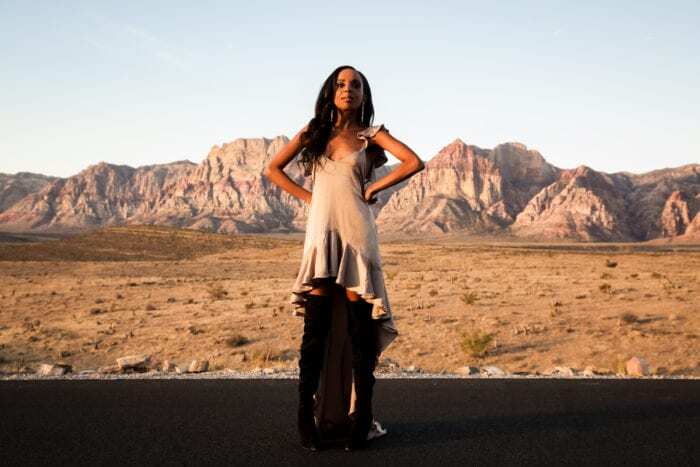
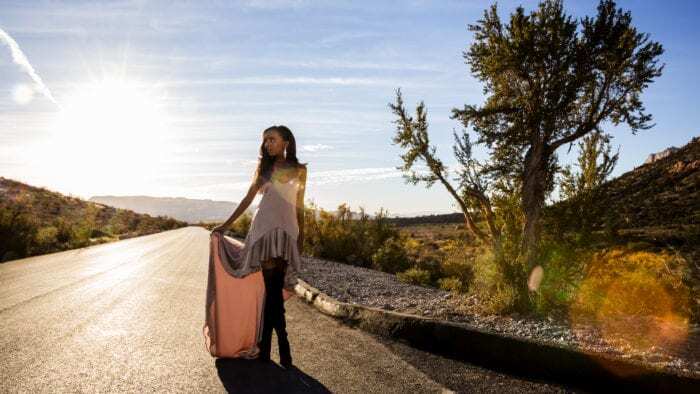
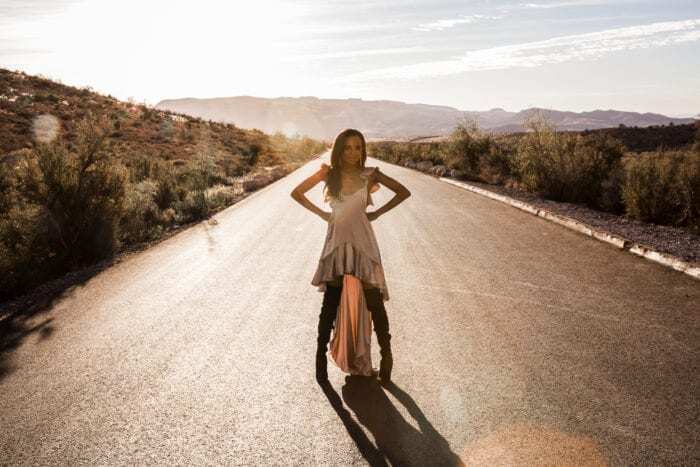
- The Long Road Ahead: Stand in the middle of a road, path, or trail (safely) and shoot from low to make the path appear to stretch forever. You’re small in the frame, destination unknown. One of the most iconic solo travel shots there is.
- Looking Up at Something Real: Stand beneath something genuinely impressive — a cathedral ceiling, a towering tree canopy, a city skyline — and tilt your head up to look at it. The viewer sees what you’re seeing. Feels earned, never staged.
Solo Photoshoot Ideas
There’s something about traveling alone that we love – it’s exciting, liberating, and a haven for self-exploration. With no one else to worry about or sync up your schedule with, you are truly free to explore wherever, whenever you’d like! Some may think a downfall to solo travel is that there is no one around to share memories and capture photos with– but that doesn’t have to be the case!
Get Creative
There is no rule that states your whole body or face need to be in your photos. You know what you look like so why not create a memory of you “doing” something rather than an awkward pose or smile.
Think of how you are seeing something through your eyes. As you lift that coffee or wine to your lips, what is the view? Capture that. Laying on a beach? Capture just your feet in the sand.
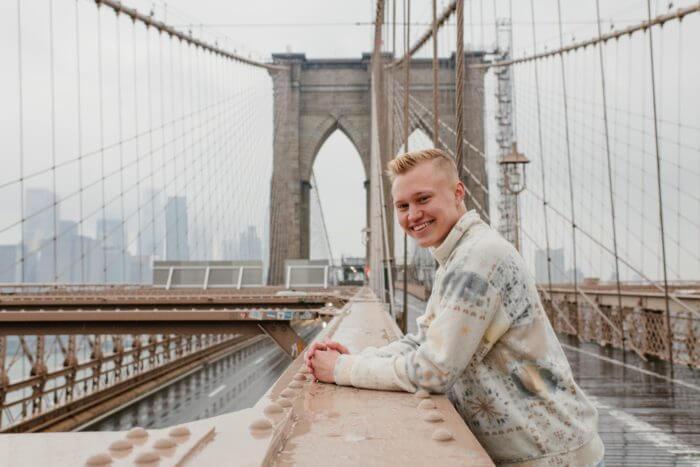
A great way to take these types of photos is by using a selfie stick. Selfie sticks are not just for mobile phones, with some cameras being able to also use a similar function. Solo travelers can then capture that shot of walking across a famous bridge from behind (think the iconic Brooklyn Bridge) or capture a wider view of a crowded area (think the steps in Times Square). Images of the back of your head can add a dimension to your photos that take you back to that exact moment even years later.
Make it an action shot
Traveling solo? Invest in a GoPro for those adventurous moments. Action shots can really capture emotion and tell a story that a posed photo can’t.
GoPro’s can also up your photo game by allowing you to take underwater photos. They are also a great alternative to a regular camera due to their shockproof features.
Consider taking stills from a video that you can capture with a GoPro too. By using an extender (similar to a selfie stick) you can wander jungles and walk through shallow waters and capture those solo travel moments.
Use reflective surfaces
Not everyone wants to approach a stranger to ask them to take a photo. (FYI – most other travelers LOVE helping solo travelers out). If you are one of those people, then think outside the box and use a reflective surface to add some wow to your photos and capture that moment.
Shop windows in the right light make for great assistants on your solo travels. At the right angle, you can get into the shot with a recognizable building or landmark like the famous Bull of Wall Street. The shot will then have a flair that other people may not have – an especially handy trick if you are planning to create a travel blog or Instagram.
Reflections from water can also be a fun and interesting way to record your memories as a solo traveler.
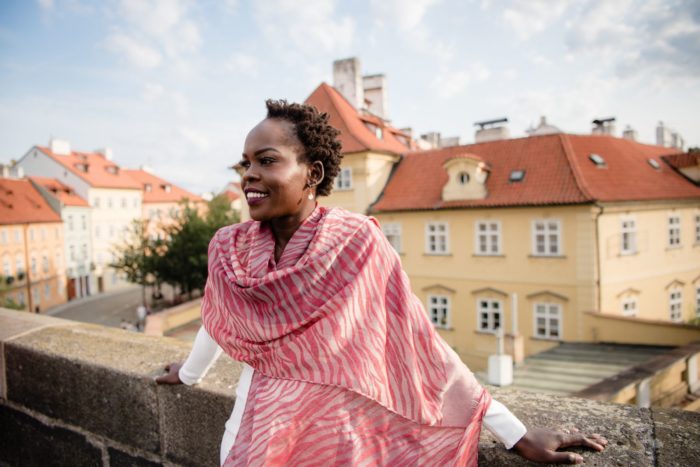
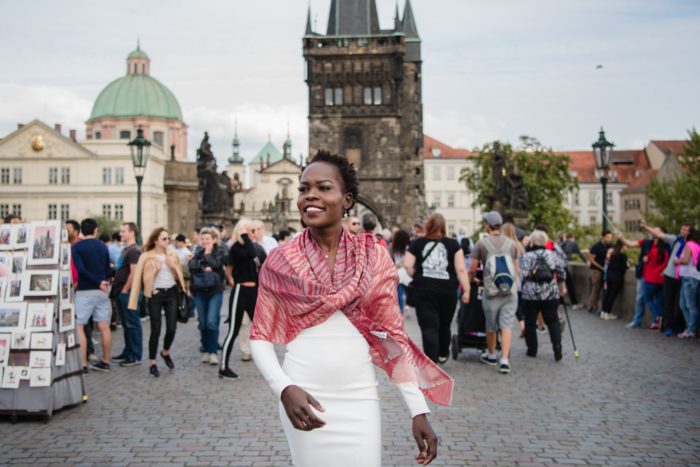
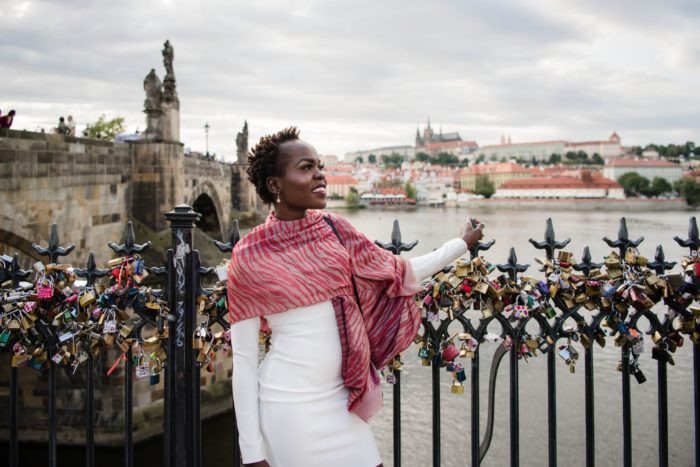
Photography Tips for Solo Travelers
Traveling solo can be such a liberating experience. You have more freedom to choose where and when you go and it can often be cheaper too. But how do you capture those memories in photo form like those traveling with other people? Even in the modern craze of the selfie, we can’t always record the true essence of actually being somewhere unless we sacrifice not being in the photo ourselves.
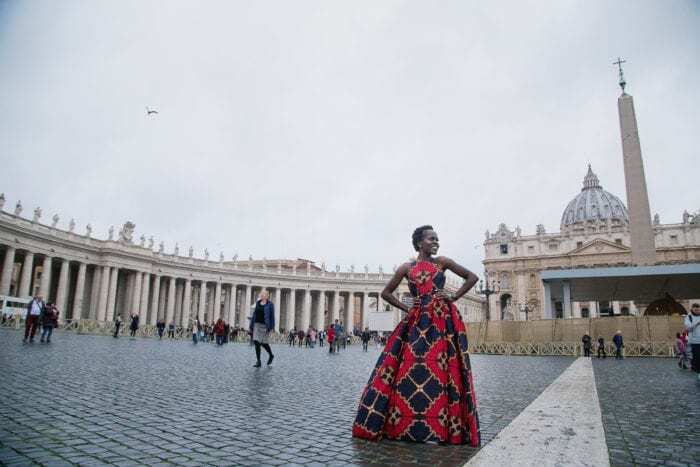
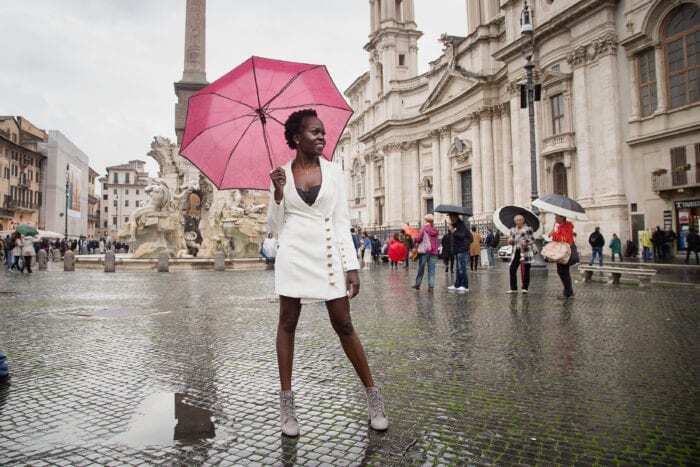
Get a Travel Tripod
Tripods are a must for any photographer. Ensuring your camera is steady makes for the perfect photo.
You might think that dragging along a tripod everywhere will be painful, especially if you are backpacking and are carrying your life on your back. However, tripods have come a long way since the beginning days of photography. There are many lightweight and foldable options out there that are perfect for your own photoshoot as a solo traveler. Our favorite ones are:
- The Pocket Tripod – It fits inside your wallet!
- The Joby Gorillapod – Best all-around travel tripod
- Peak Design Travel Tripod – Great for professional travel photographers with DSLRs
Adding a remote (hopefully wireless) will then make your tripod your new travel bestie as you can set up the backdrop and get into the photo, and with one click on the remote, your perfect shot is taken.
Learn Your Camera’s Settings
There are some amazing features on your camera that I bet you don’t know about. Or you know about them but haven’t spent the time getting to know how to use them.
Before you set off on your solo travels or when you purchase a new camera, practice using the functions and settings before you go. There is nothing worse than being somewhere as spectacular as the Statue of Liberty and then needing to figure out how to set the self-timer. Practice with still and moving objects as well as during different times of the day so you can get to know the settings of your camera in different types of lighting.
A feature that is very useful for solo travelers is the ‘self-timer continuous’ feature. As it states, it is a self-timer, allowing the camera to be set ready for you to jump in the photo. And by adding the continuous burst feature, you can ..literally jump in the photo! A continuous burst tasks 5+ photos in quick succession – then all you need to do is pick the best image.
Plan Ahead
Or at least do everything in your power to avoid the tourist hot spots when it is crowded. As travelers, we have an ideal image of how we want our vacation photos to look. For most people, we want a physical reminder of being somewhere amazing.
Often those amazing places are THE places to go at your chosen destination, so it is best to plan and research before going. Find out the busiest times of that attraction and avoid that time! As a solo traveler, taking photos can be tricky anyway but if you don’t need to navigate crowds then your photoshoot will be just how you imagined it.
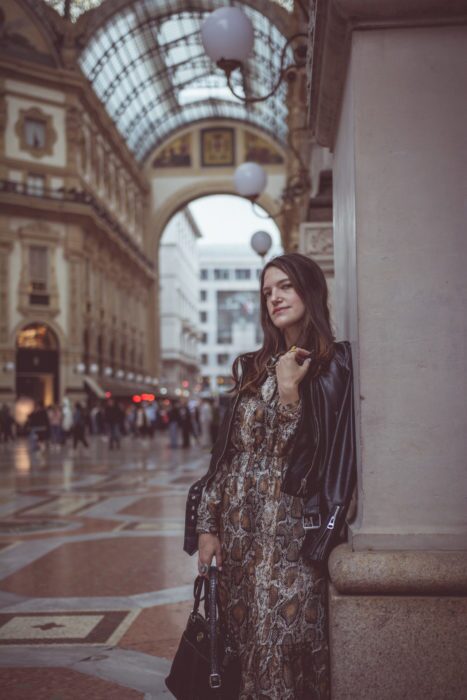
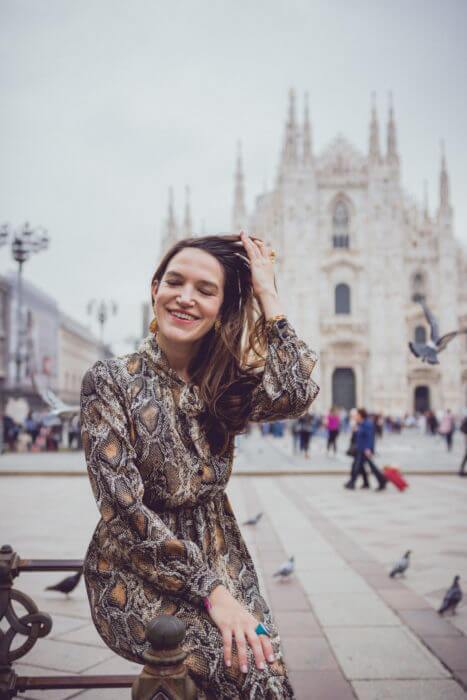
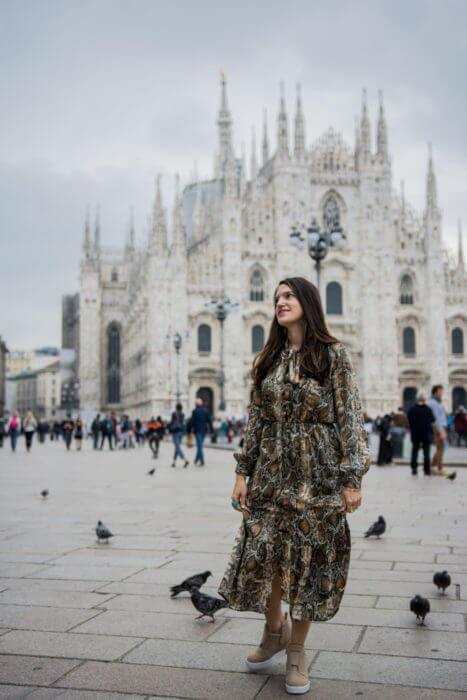
Hire a Local Photographer
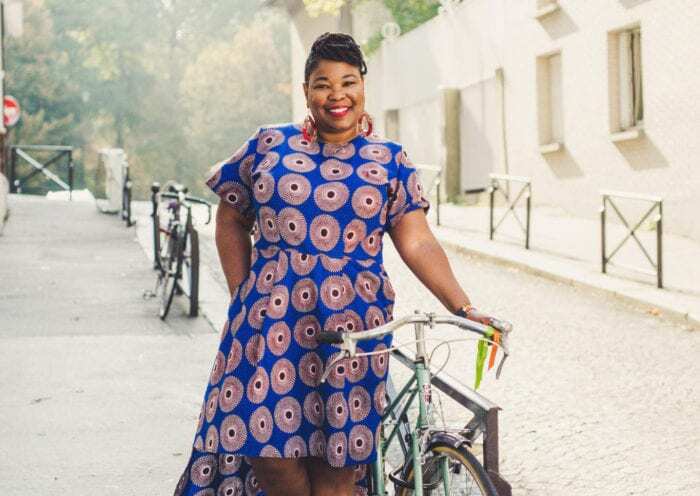
Consider hiring a professional photographer in your destination. They will be able to bring all their own gear and can do all the hard work while you enjoy creating those moments. You are guaranteed the image you need as they will work with you to create the perfect photoshoot that will tell the story of your solo travel adventure.
Gain a Friend
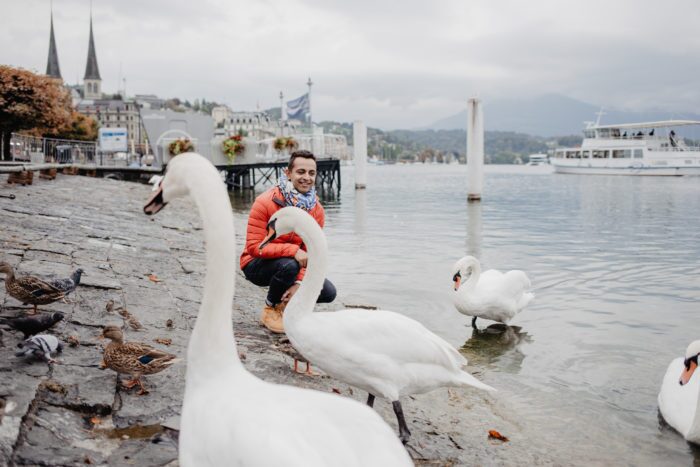
By hiring a local photographer, no matter where in the world you are, you’ll essentially have a friend to venture around with for a bit! Your solo photographer will capture any fun, silly, candid, and extraordinary moments– plus, he or she can offer tips for the most picture-perfect memory-making! Use your photographer as a resource to get to know the city you’re visiting even better. Plus, they’ll have some excellent solo photoshoot ideas such as the best photo spots and the poses that work best. They may even have recommendations for local tour guides, pub crawls, etc.
Feel like a Star
Imagine browsing local markets in France, running on the beach in Spain, or simply walking the streets of Manhattan– and having a photographer with ninja-like skills there to capture every moment along the way! It’ll be like having your very own paparazzi– without the fear of being photographed doing something ridiculous, or scandalous even! Your solo photographer won’t impede your space or make you feel awkward– you won’t even have to worry about striking a pose. Just have fun and enjoy your me-time.
Epic Solo Traveler Photos
Hiring a solo photographer is no longer reserved for weddings, bar mitzvahs, or baby showers– now, more and more travelers are hiring photographers for solo photoshoot ideas and to capture moments that they would have otherwise been unable to. You’ll finally return home with epic vacation photos, instead of awkward selfies or poorly framed photos that were taken by a stranger.
Self-Timer & Travel Tripod Tips for Solo Travelers
This section barely exists online — which is exactly why it’s worth covering well. Every “solo travel photography” article mentions bringing a tripod. Almost none of them tell you how to actually use one effectively to get photos that don’t look like a hostage situation.
Choosing the Right Travel Tripod
The tripod you actually bring is better than the perfect one left at home. Here’s what to look for:
- Joby GorillaPod — The all-around best for travel. Flexible legs wrap around railings, benches, and branches. Fits in a day bag. Works with mirrorless cameras and phones.
- Peak Design Travel Tripod — Worth the weight if you’re shooting with a DSLR or full-frame mirrorless. Packs flat and compact. A genuine one-time purchase.
- Pocket Tripod — Credit card-sized, phone only. Puts your phone at a fixed angle on any flat surface. Not versatile, but absurdly packable.
- Any small tabletop tripod ($15–25): For phone users who want flexibility, a 6–8 inch tabletop tripod with a ballhead covers 90% of situations and weighs almost nothing.
Self-Timer Settings That Actually Work
The 2-second self-timer is not your friend. Here’s what to use instead:
- Continuous burst with a 10-second timer: Set a 10-second delay and shoot 5–10 frames in a row. Walk into frame, find your spot, and let the camera do the rest. You’ll have multiple frames to choose from instead of one do-or-die shot.
- Bluetooth remote shutter: Pick one up for under $10. You hold it in your hand (or tuck it behind your back, in a pocket, or in the grass). Click it yourself. This eliminates the mad dash across the frame and gives you full control over timing.
- Your phone as a remote: Most newer cameras (Sony, Canon, Fuji, Nikon) have a companion app. Connect via Wi-Fi and trigger the shutter from your phone. You can also see a live view of the frame, which means you can check your composition without walking back to the camera every time.
- Interval timer (intervalometer): Most mirrorless cameras have this built in. Set it to shoot one frame every 2 seconds for 30 seconds. Gives you 15 chances to get the shot right.
How to Set Up Your Shot (Without Running Back 40 Times)
- Frame first, body second. Set up your tripod and frame the shot before you ever step into it. Use a jacket, bag, or stick on the ground to mark where you’ll stand.
- Check height. Most people set tripods too low. Eye level or slightly above gives a more flattering frame. Getting low is a deliberate creative choice, not a default.
- Check focus. Autofocus can hunt when there’s nothing in the frame. Set focus by putting the camera in your hand position first, then recompose. Or use face-tracking AF if your camera has it — then step into frame and let it lock onto you.
- Shoot wide, crop later. Give yourself more room than you think you need. You can always crop a wider shot, but you can’t un-crop a tight one where your foot is cut off.
- Shoot in short bursts, review, adjust. Do 2–3 bursts, walk back, check the result, make one adjustment (height, angle, your position), repeat. Five rounds of this takes 10 minutes and usually produces 3–4 keepers.
Finding a Stable Surface Without a Tripod
Forgot the tripod or traveling light? These surfaces work better than you’d think: stone walls, benches, café table edges, a windowsill, the top of your bag set on a ledge. The key is a flat surface at the right height plus a 2-second timer delay to let vibration settle before the shutter fires.
What to Wear & What to Pack for a Solo Travel Photoshoot
The clothes you plan and the lighting you end up with don’t always cooperate. Here’s how to pack for your photoshoot without hauling an extra suitcase.
Outfit Principles That Photograph Well Anywhere
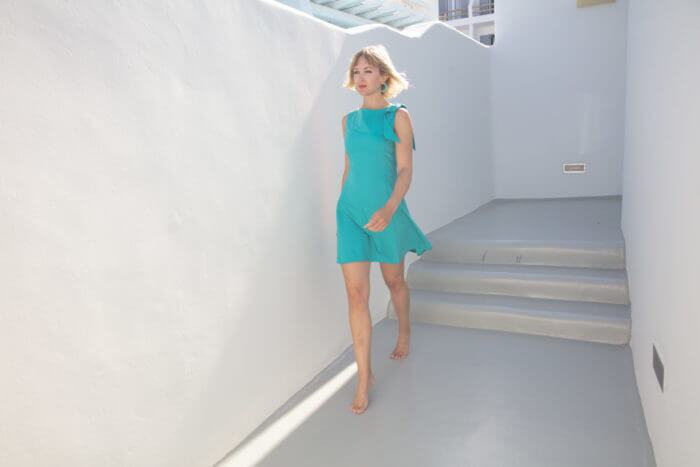
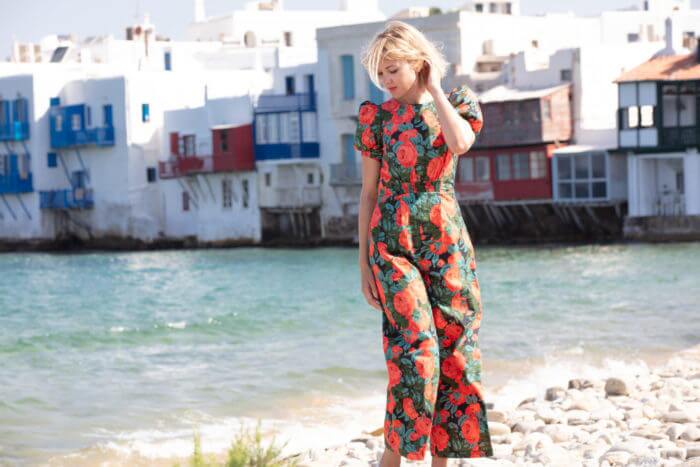
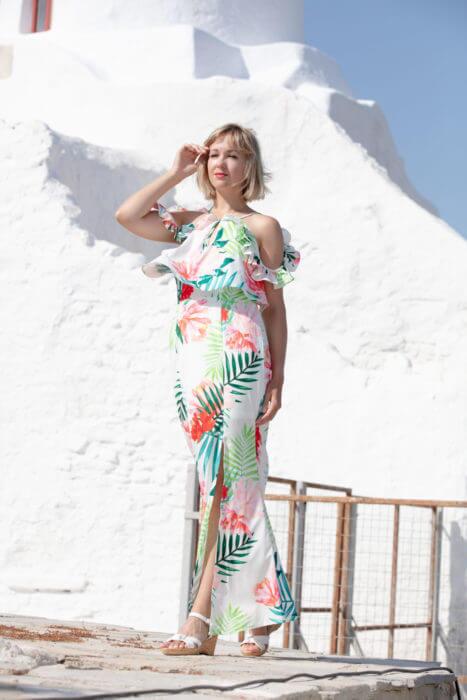
- Solid colors over busy prints. Patterns compete with complex backgrounds. If the background is simple (a white wall, a beach), prints can work. But if you’re shooting at a busy market or a detailed historic site, a solid color keeps the focus on you.
- One pop, not three. If your outfit has a statement piece — a colorful dress, a bold jacket — keep everything else neutral. Trying to coordinate multiple bold pieces reads as chaotic in photos.
- Layer for flexibility. A neutral layer you can add or remove gives you two looks from one outfit without repacking. A linen shirt over a tank, a light jacket over a dress.
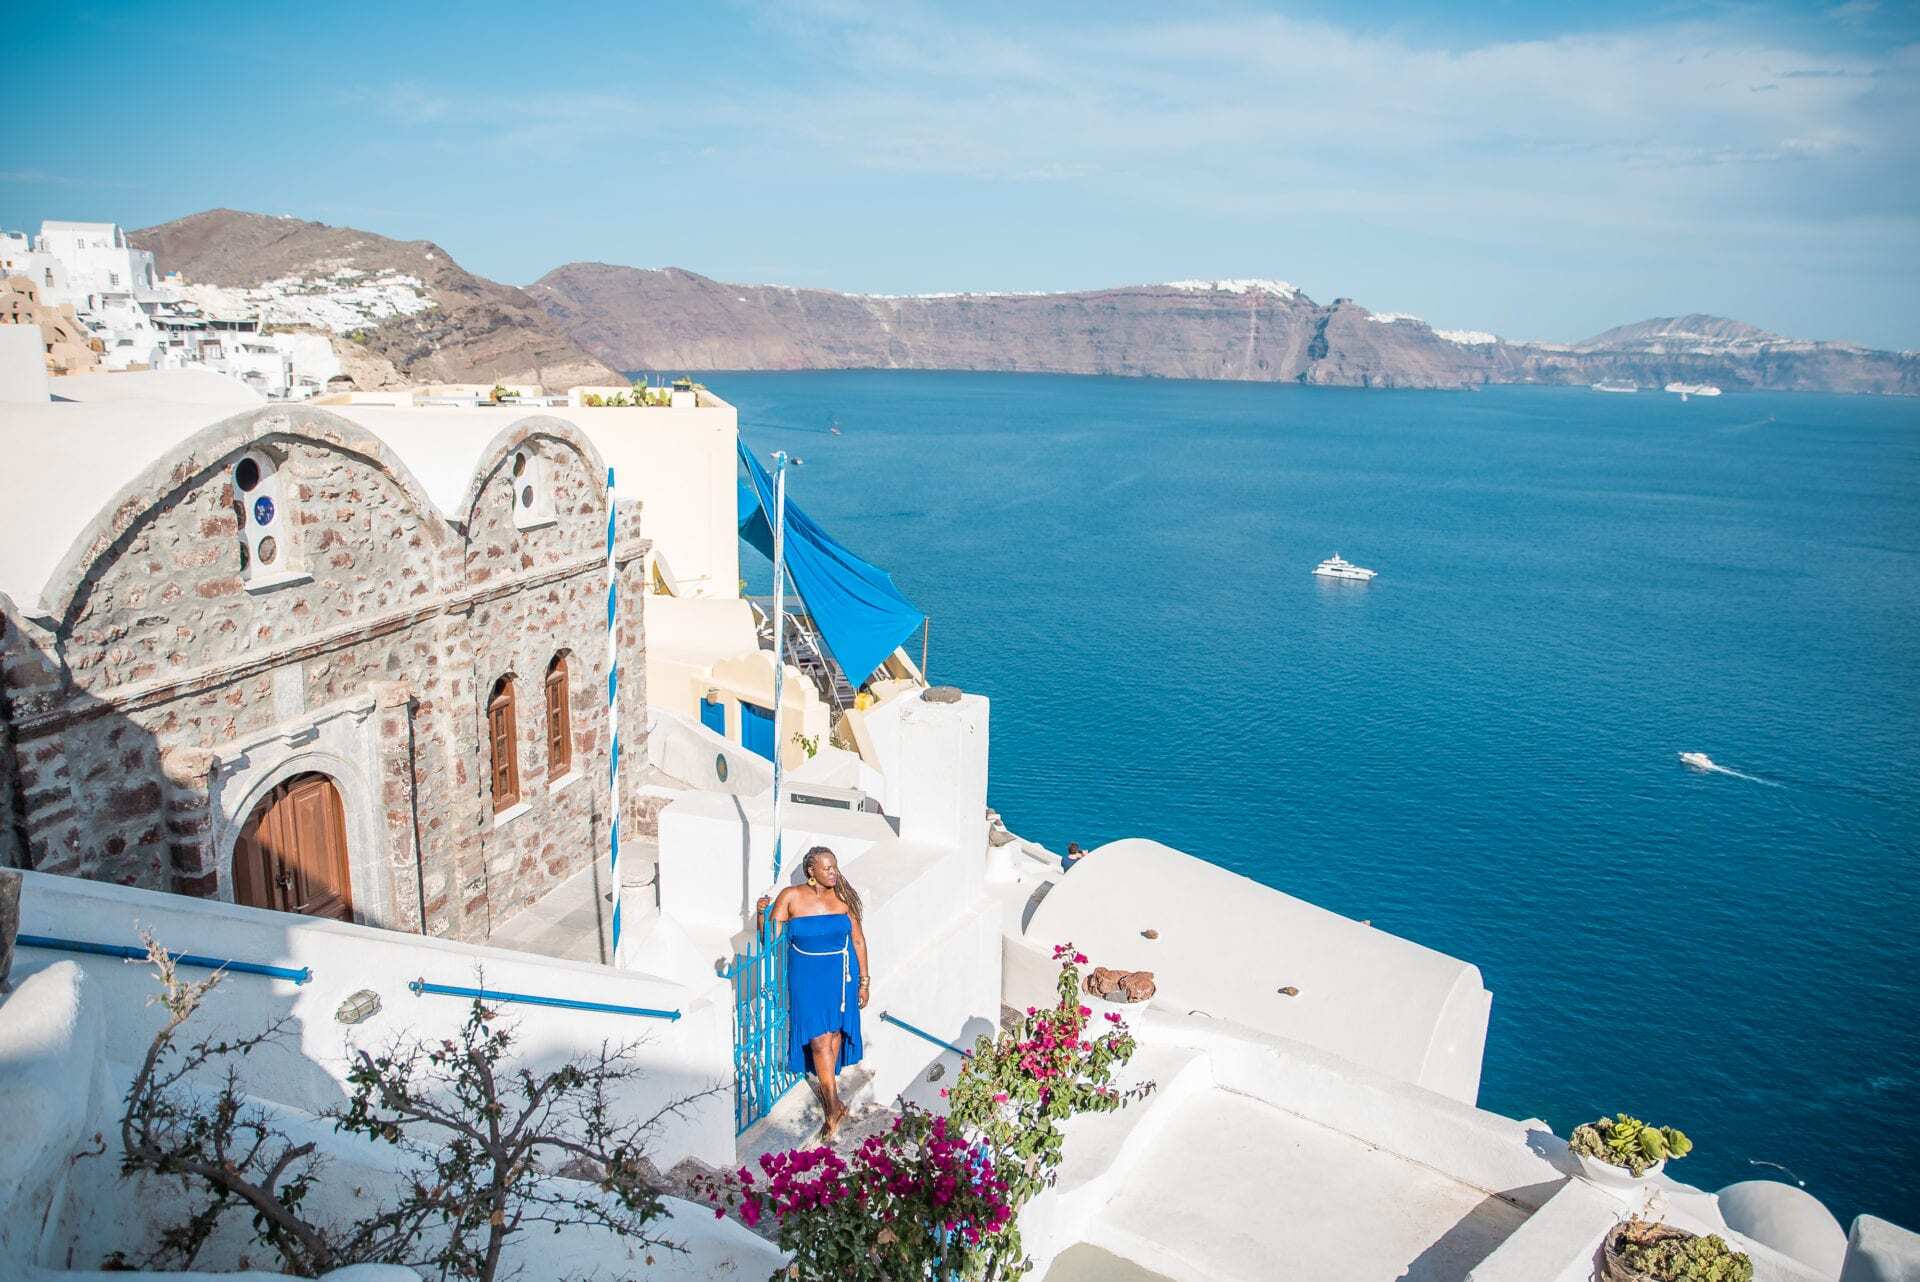
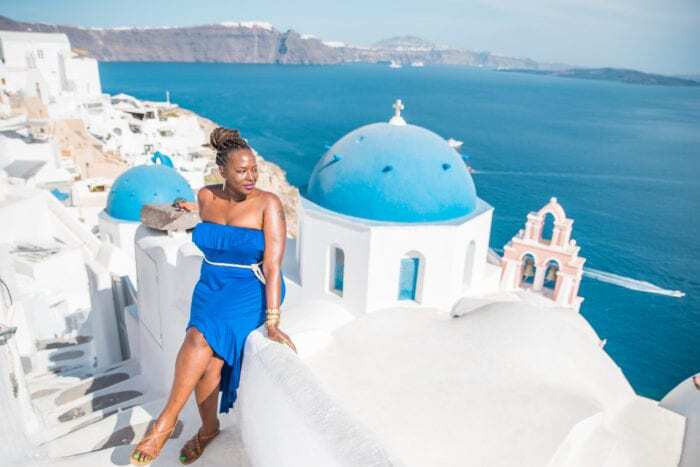
- Check the destination palette. Greece photographs beautifully with white and blue. Japan’s temples look stunning with muted earth tones. Bali’s jungle pops with coral, rust, or deep green. Look at photos from your destination before you pack.
- Comfort you’ll actually move in. You’re going to walk, sit on steps, look over your shoulder, and potentially run to beat a crowd to a location. If you can’t move freely in it, skip it.
The Solo Travel Photoshoot Packing List
- 2–3 outfit options (one casual, one elevated, one weather-contingency)
- Neutral accessories — a sun hat, a light scarf, minimal jewelry
- Comfortable shoes you can walk in for miles (also photograph well from behind)
- Bluetooth remote shutter trigger (~$8 on Amazon)
- Travel tripod or GorillaPod
- Phone or camera fully charged — bring a power bank
- Small mirror or phone camera front view for checking hair/outfit before shooting
- A prop that fits the destination: a local market bag, a paperback, a coffee cup
What Not to Bring
Heavy jewelry catches harsh light in unflattering ways. Logoed clothing dates the photo instantly. White in high-sun situations tends to blow out. Anything you’re nervous about damaging is something you won’t actually wear — leave it home.
Best Destinations for Solo Travel Photography
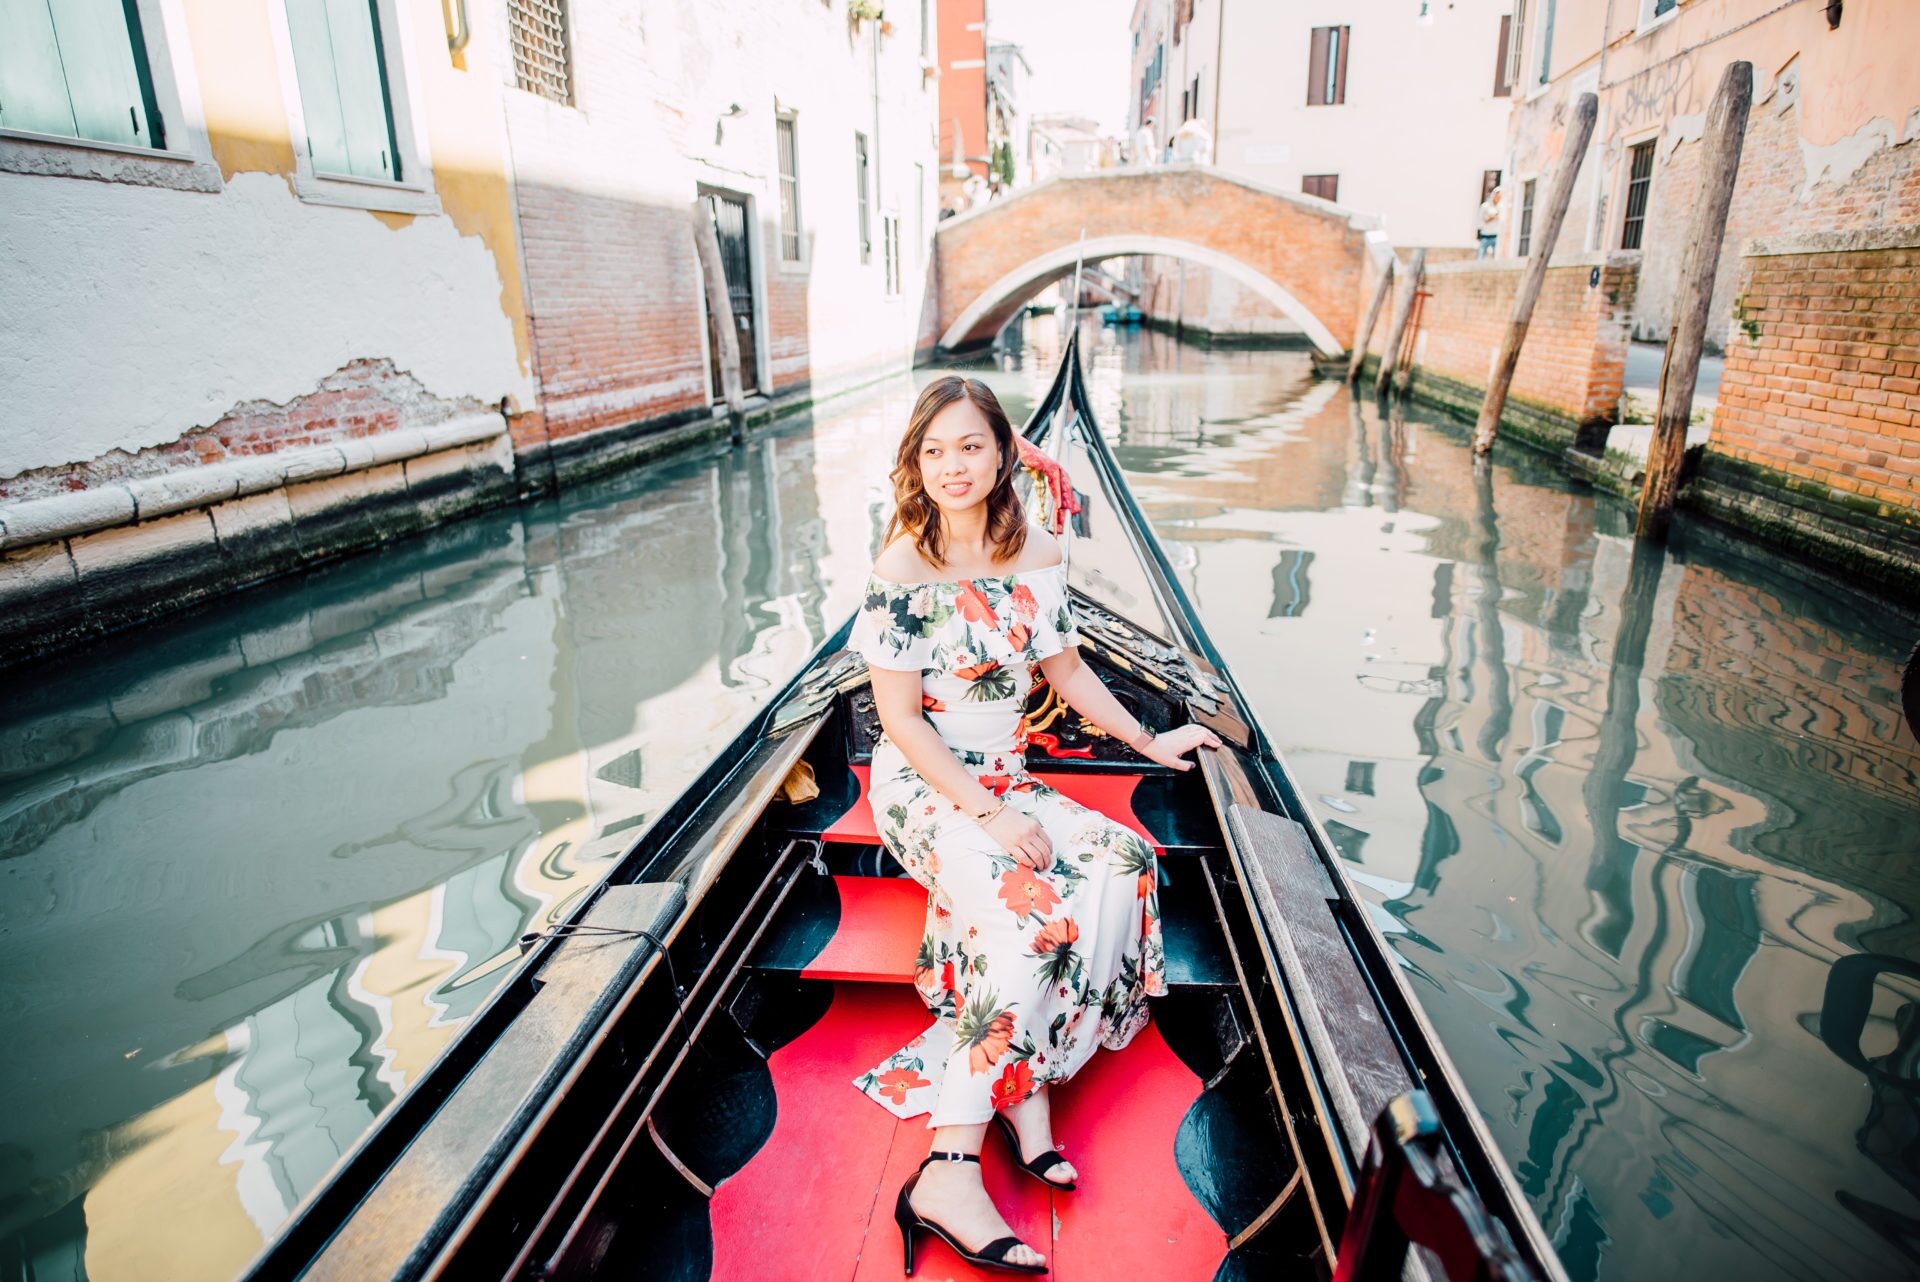
Some places are practically designed for solo travel photos. Here are four where the combination of scenery, culture, and Local Lens photographers makes for genuinely unforgettable sessions.
Japan
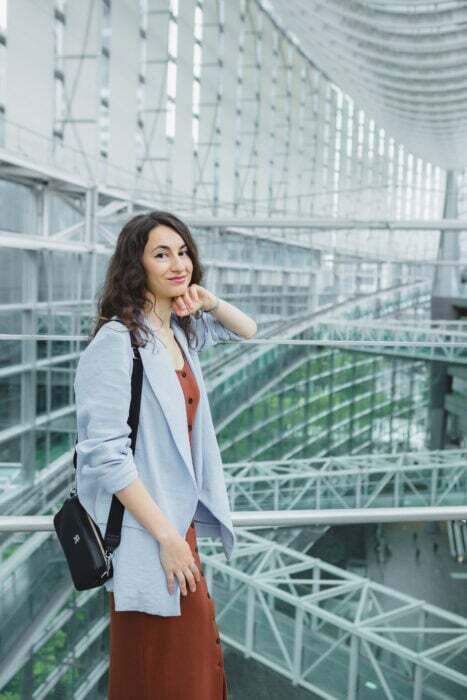
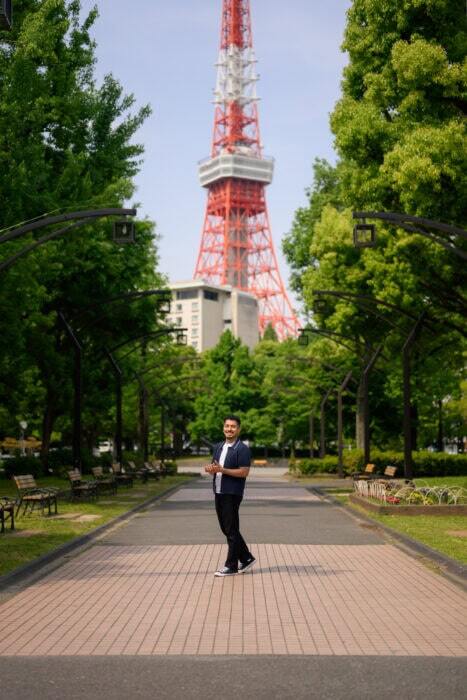
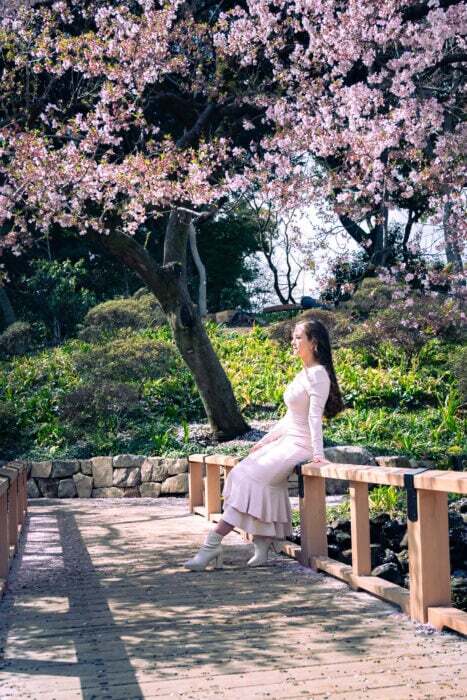
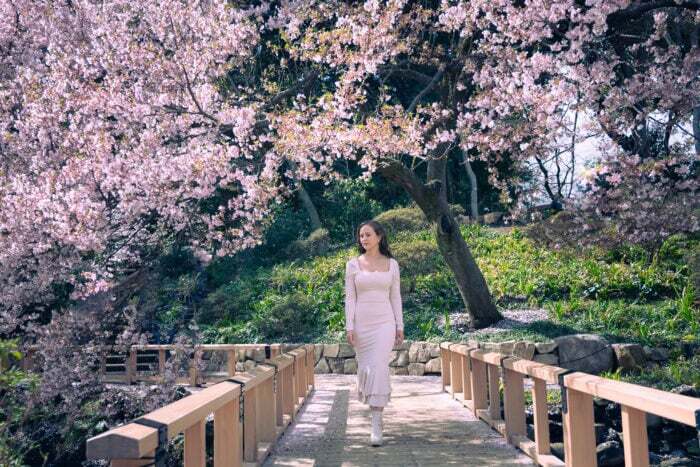
Japan rewards the solo traveler with an almost impossible variety of backdrops: neon-lit streets in Shinjuku, bamboo groves in Arashiyama, red torii gates stretching up a hillside in Fushimi Inari, cherry blossoms along canal paths in spring. The country is also remarkably easy to navigate alone, which means you have full control of your schedule — including showing up at the right place at exactly the right light.
Best photo spots: Fushimi Inari (go before 7am), Arashiyama Bamboo Grove (same advice), Dotonbori at night, Shinjuku Golden Gai, Senso-ji’s approach path at dawn before the market stalls open.
What to wear: Muted earth tones at temples, bold colors against Osaka’s neon. A rented kimono is worth it for a session in Gion.
👉 Browse Local Lens photographers in Kyoto
👉 Browse Local Lens photographers in Tokyo
Italy
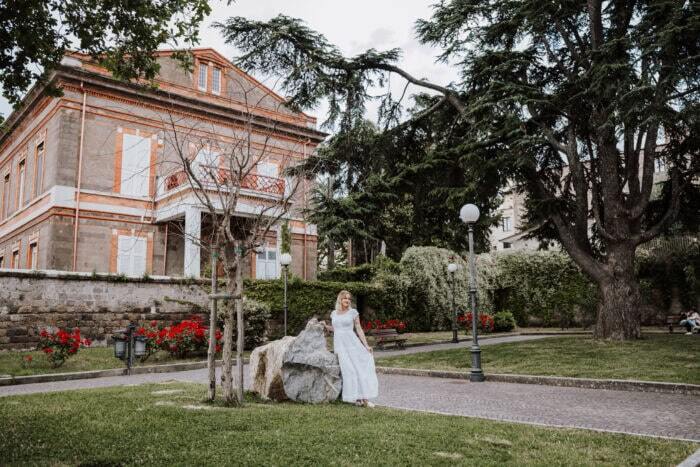
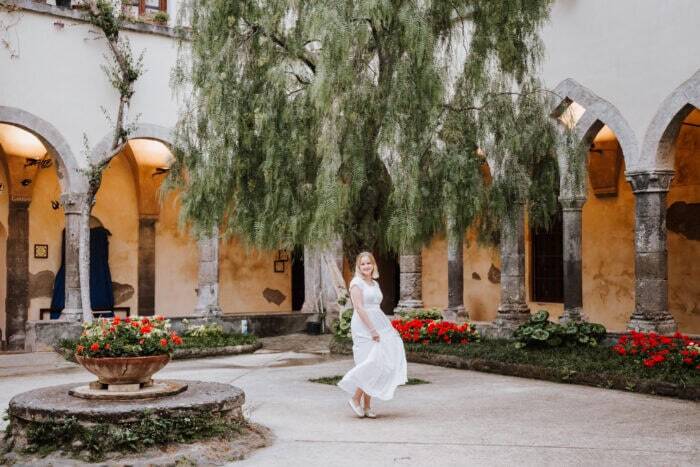
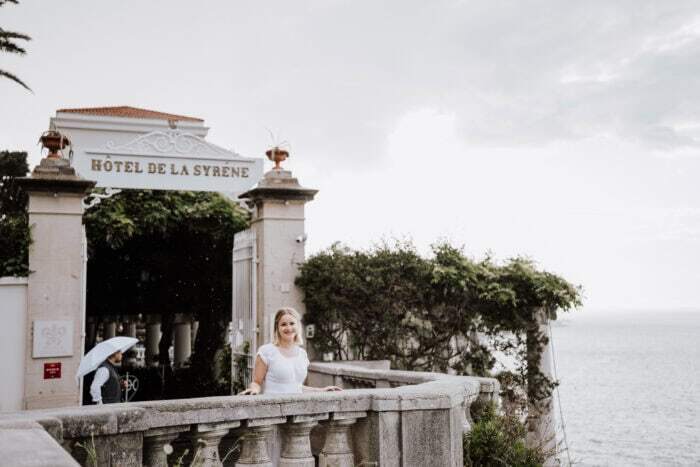
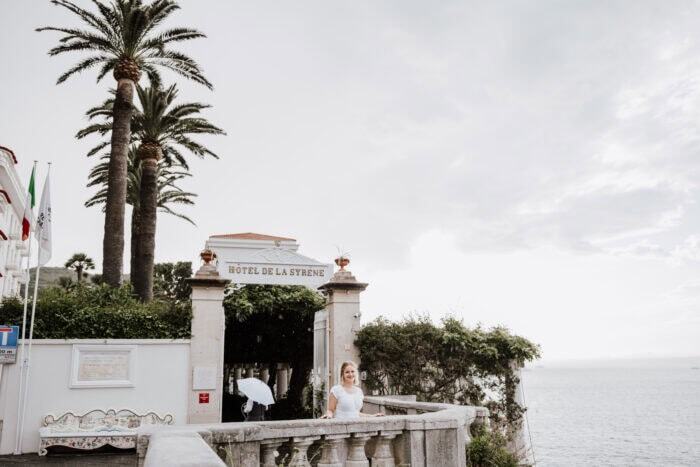
Italy is one of the most photographed countries on earth, but the solo traveler photos that actually stand out aren’t the ones in front of the Colosseum at noon with a thousand other tourists. They’re the ones taken in Trastevere’s narrow alleys at golden hour, on a hilltop in Tuscany with nothing but vineyards behind you, or on a Positano terrace before the day crowds arrive.
Best photo spots: Piazzale Michelangelo at sunrise (Florence), Trastevere anytime after 5pm (Rome), Valle d’Itria trulli towns (Puglia), Vernazza overlook (Cinque Terre), the lemon groves above Amalfi.
What to wear: Terracotta, rust, cream, and dusty sage all pull from the Italian landscape. Linen photographs especially well here.
👉 Browse Local Lens photographers in Rome
👉 Browse Local Lens photographers in Florence
Paris
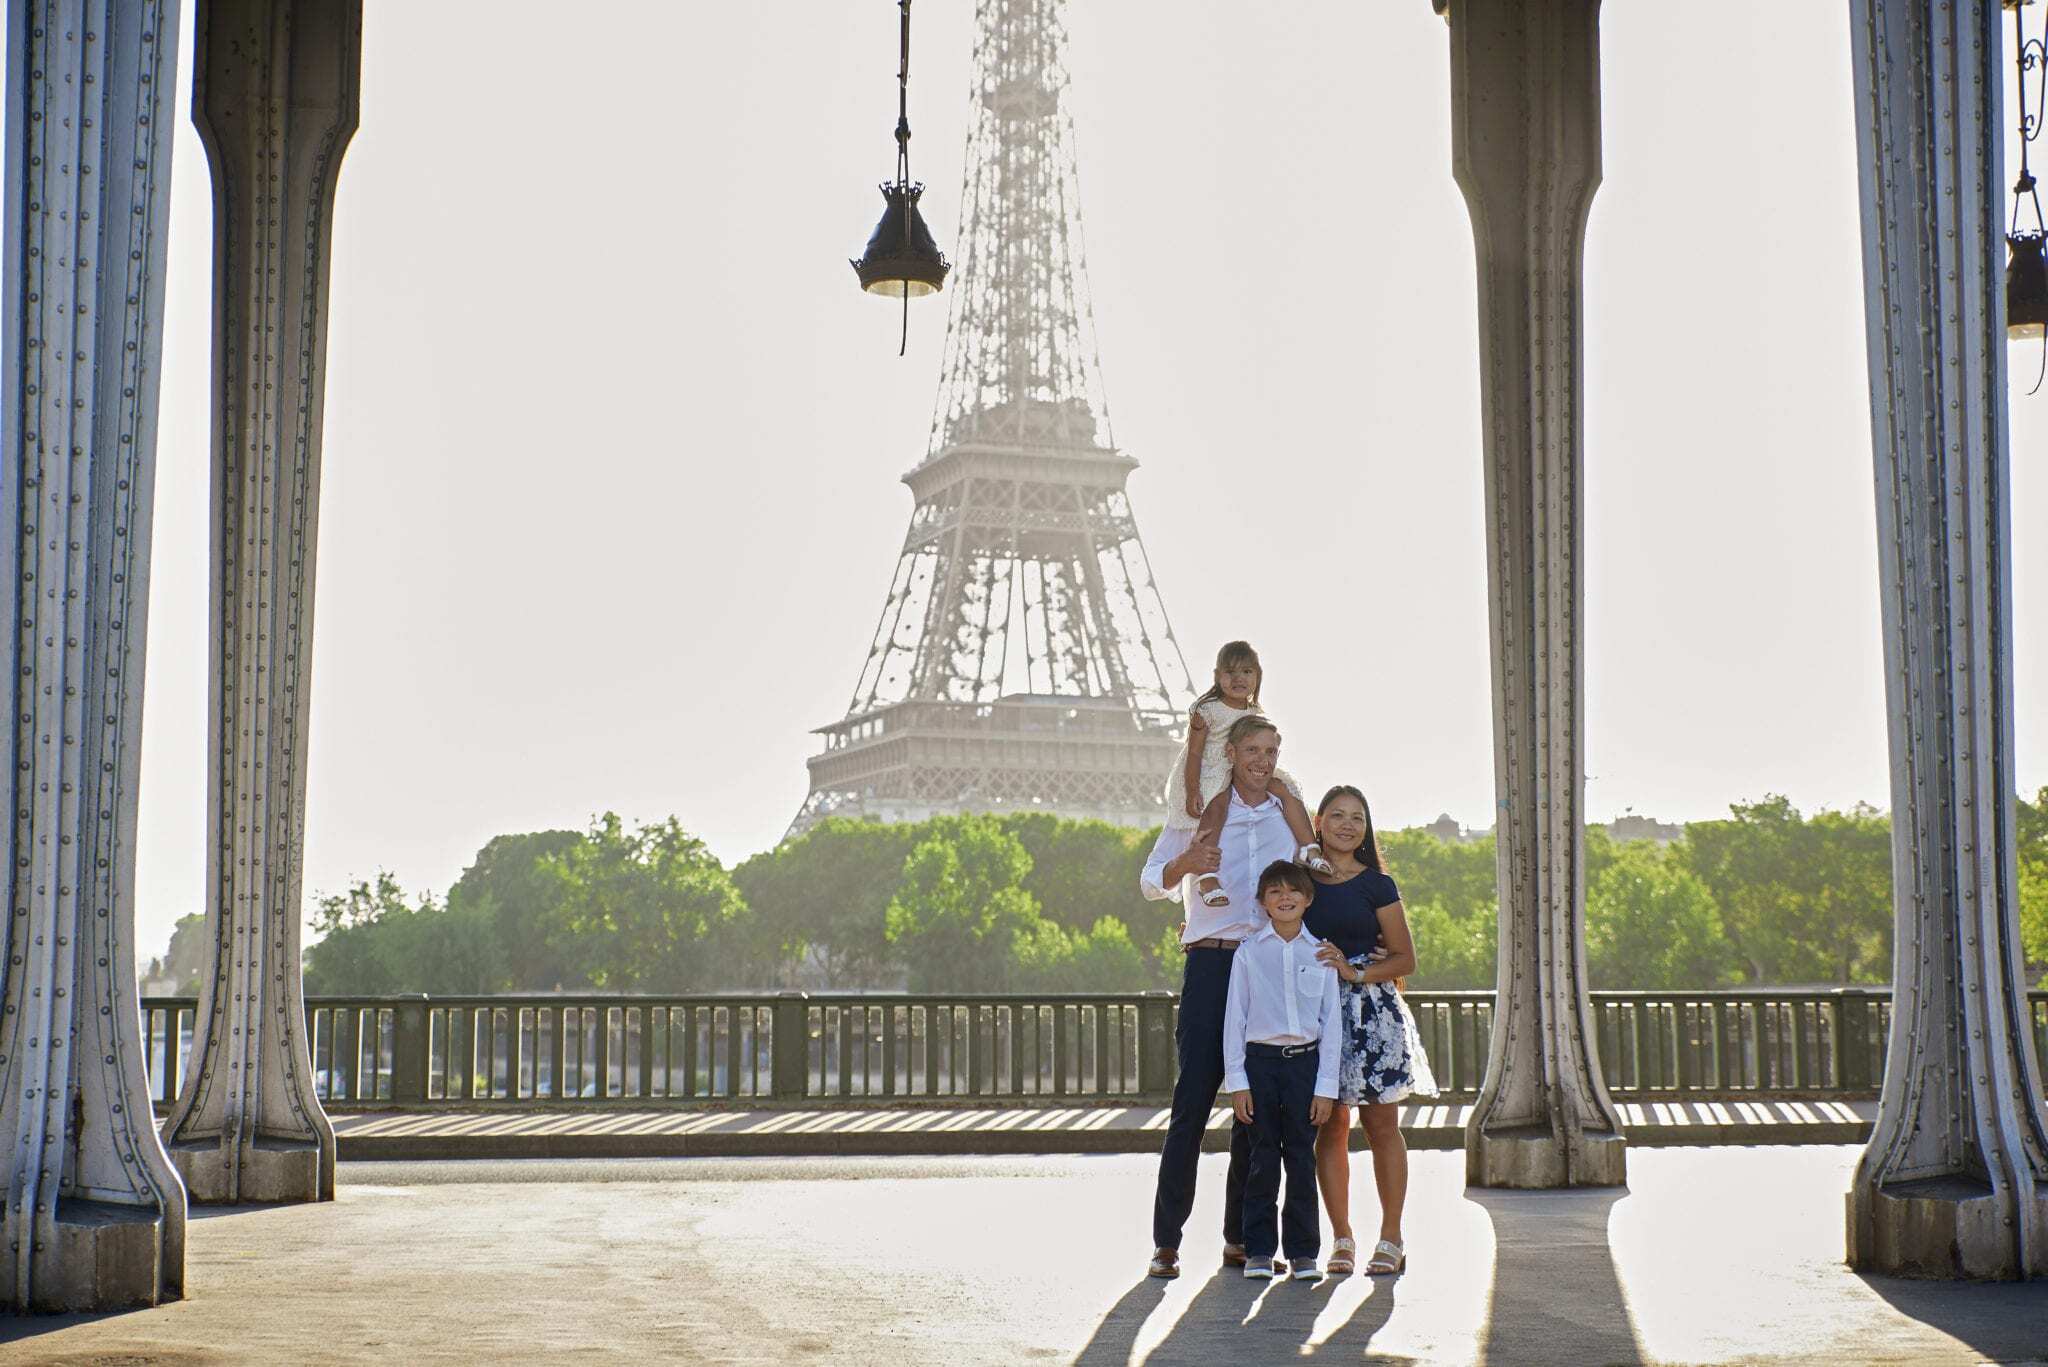
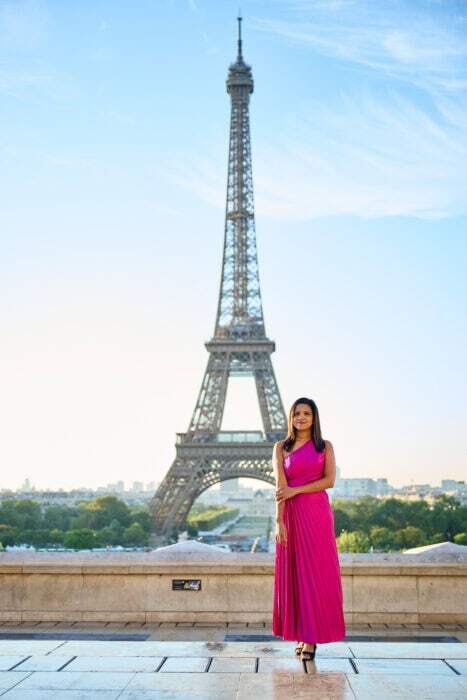
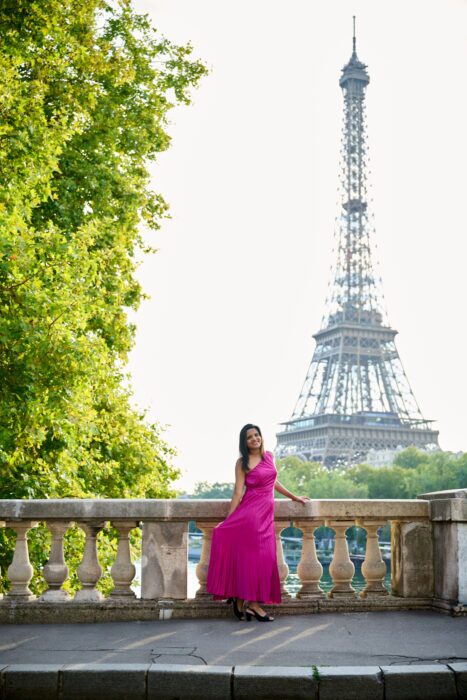
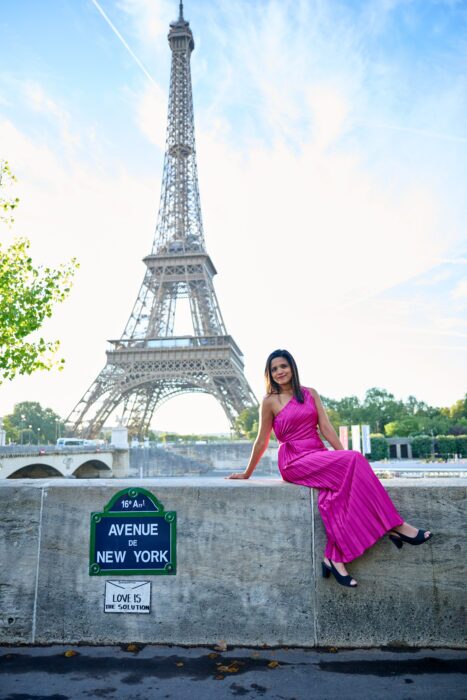
Paris is the world’s most photographed city, and yet somehow it still doesn’t get old. The trick for solo travel photography here is going slightly off the tourist axis. The Trocadéro gives you the Eiffel Tower without being in it; Montmartre’s stairways and cafés have the Paris feel without the crowds; the Canal Saint-Martin in the 10th arrondissement has a local, unhurried atmosphere that photographs like a film still.
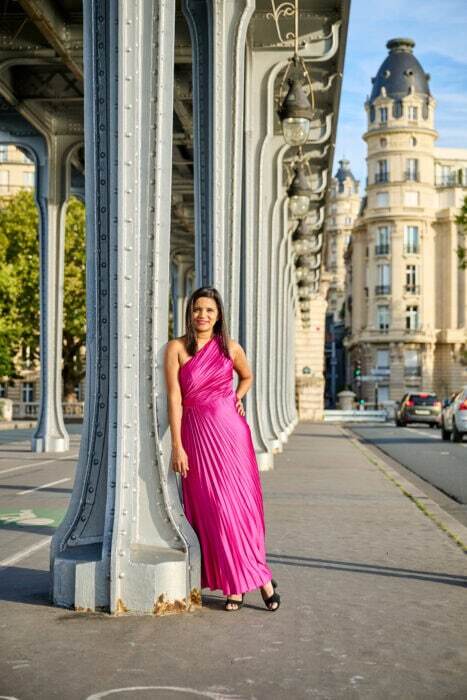
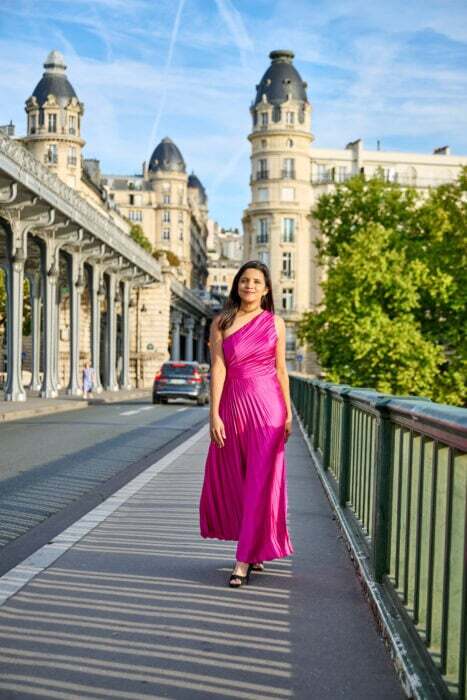
Best photo spots: Trocadéro at golden hour (Eiffel Tower behind you), Rue de Crémieux for the colorful facades, Pont Alexandre III for classic Paris drama, the Palais-Royal gardens, Montmartre’s vineyard overlook.
What to wear: Classic Parisian palette: navy, white, camel, black. A beret is not a cliché — it’s a prop that signals exactly where you are in one frame.
👉 Browse Local Lens photographers in Paris
Bali
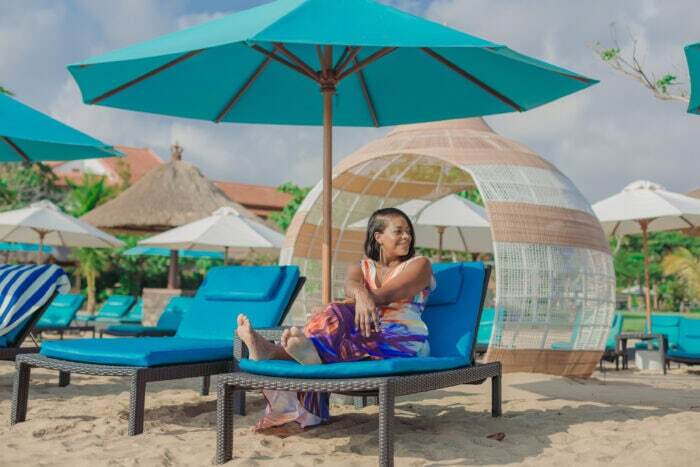
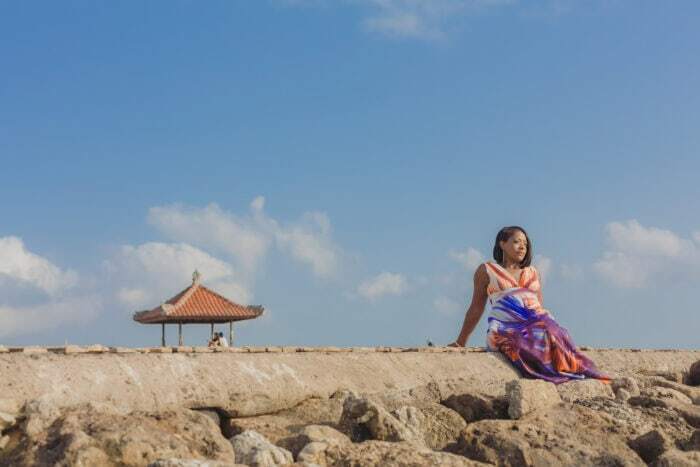
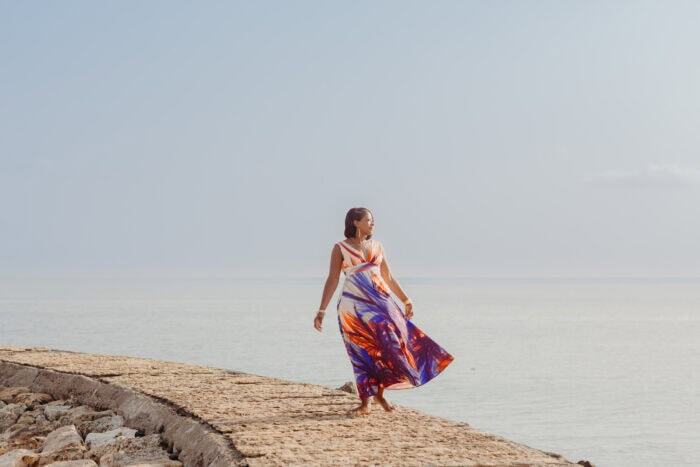
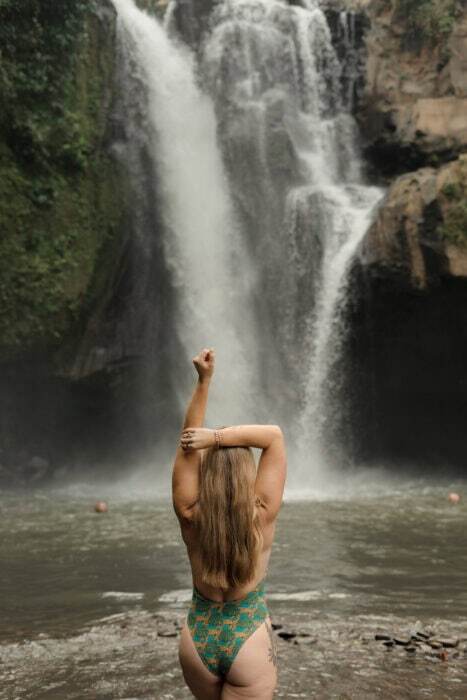
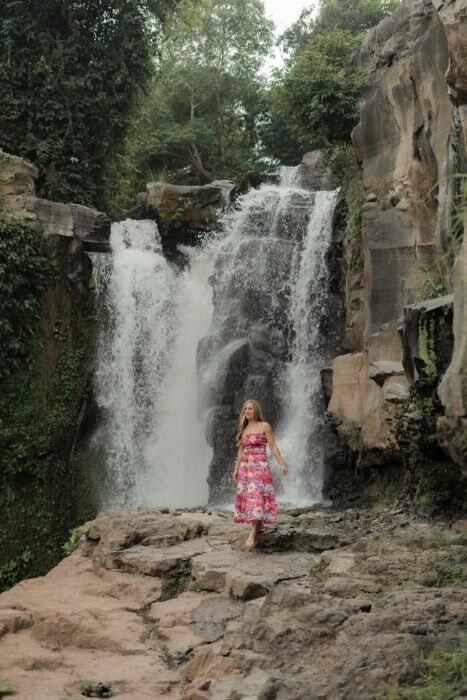
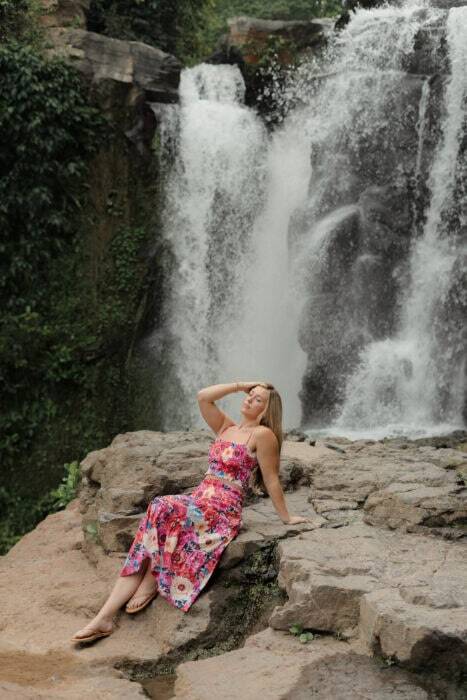
Bali operates on its own photographic logic. The light is warm almost all day. The locations are extraordinary — rice terraces, temple gates, volcanic craters, jungle waterfalls, clifftop ocean views. And because so many travelers come here solo, a Local Lens photographer here is genuinely used to working one-on-one to capture exactly the trip you came here for.
Best photo spots: Tegallalang Rice Terraces (go early, before the swings fill up), Pura Luhur Uluwatu at sunset, Campuhan Ridge Walk at golden hour, the black sand beach at Amed, Tirta Gangga water temple.
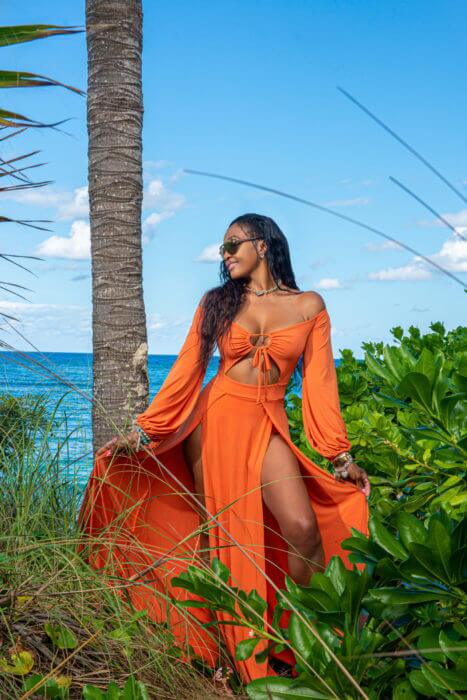
What to wear: Deep corals, marigold yellow, forest green, and burnt orange all pop against Bali’s greens and warm stone. Avoid white near water — the light bounces in an unflattering way.
→ Browse Local Lens photographers in Bali
More Destinations
Local Lens photographers are available in 200+ destinations worldwide. A few other favorites for solo travel photography:
Hire a Local Professional Photographer
Book a fun experience with a local professional photographer who knows all the best photo spots, when the best lighting will be, and how to beat the crowds to capture magical moments without tons of other tourists in the background. Not only will they take amazing solo travel photos, but will edit them to be beautiful photo souvenirs you’ll treasure for years to come.
Sometimes solo travel can be the best way to see the world… but it can be hard to capture your trip when traveling alone. Connecting with a local photographer for solo photoshoot ideas can be the solution to your problems! You get to meet a local who’ll help capture your travel memories and offer photography tips. You’ll also get some unique insight into the city you’re visiting that only a local could know.
Check out the best photographers for a solo photoshoot in the top destinations in the world, such as:
- Dubai
- New York City
- Mexico City
- Las Vegas
- Cancun
- Bali
- Rome
- The Bahamas
- Paris
- Maui, Hawaii
- Cabo San Lucas
- Florence
- Miami
- Tulum
What’s included in a solo photoshoot package?
With every solo photography package, you’ll get high-resolution photos that are professionally edited and delivered by email in a private online gallery within 5 business days. In your gallery, you will be able to see all the photos from your solo photoshoot and get to download a certain number of your favorites, depending on your package. It also includes:
- one-on-one planning with your photographer
- a private online gallery
- high-resolution photos that are professionally edited
- photos delivered within 5 days
Hiring a vacation photographer for your solo journey doesn’t mean you’re narcissistic– it’s a fun way to document a trip that’s sure to be a memorable one! Local Lens has captured solo vacations in over 100 cities around the world. These photos are great for sharing your trip with friends and family on social media, bloggers, or for updating a dating profile.
How much does a solo photoshoot cost?
Prices vary by city, ensuring you the best rates. High-resolution photos are professionally edited and delivered by email in a private online gallery within 5 business days. Choose between 4 different photo packages:
- 30 minutes – Includes 15 digital photos
- 1 hour – Includes 30 digital photos
- 90 minutes – Includes 45 digital photos
- 2 hours – Includes 60 digital photos